How to Use a Tripod for Perfect Travel Photography Shots
When it comes to capturing perfect travel photography shots, using a tripod can make a world of difference. Not only does it provide stability and precision, but it also allows you to experiment with various techniques to elevate your photography game. In this article, we will explore the tips and techniques for utilizing a tripod effectively to ensure your travel photos are nothing short of stunning.
Choosing the Right Tripod
When it comes to capturing stunning travel photographs, selecting the right tripod is crucial. The perfect tripod can make a significant difference in the quality and stability of your shots. There are several factors to consider when choosing a tripod for travel photography.
First and foremost, weight plays a vital role in the selection process. A lightweight tripod is ideal for travel as it allows for easy transportation without adding extra bulk to your gear. However, it's essential to find a balance between weight and stability to ensure your tripod can support your camera effectively.
Next, consider the height of the tripod. Opt for a tripod that can be adjusted to various heights to accommodate different shooting angles and perspectives. A versatile tripod height ensures you can capture diverse compositions effortlessly.
Stability is another critical factor to keep in mind. Look for tripods with sturdy legs and reliable locking mechanisms to prevent any wobbling or movement during shooting. A stable tripod is essential for achieving sharp and clear images, especially in challenging conditions.
Portability is key for travel photographers, so choose a tripod that is compact and easy to carry around. Consider collapsible tripods that can fit into your luggage or backpack without taking up too much space. Portability ensures you can bring your tripod on all your adventures without any hassle.
By carefully considering these factors - weight, height, stability, and portability - you can select the perfect tripod for your travel photography needs. Remember, the right tripod can be the foundation for capturing breathtaking shots with precision and stability.
Setting Up Your Tripod Correctly
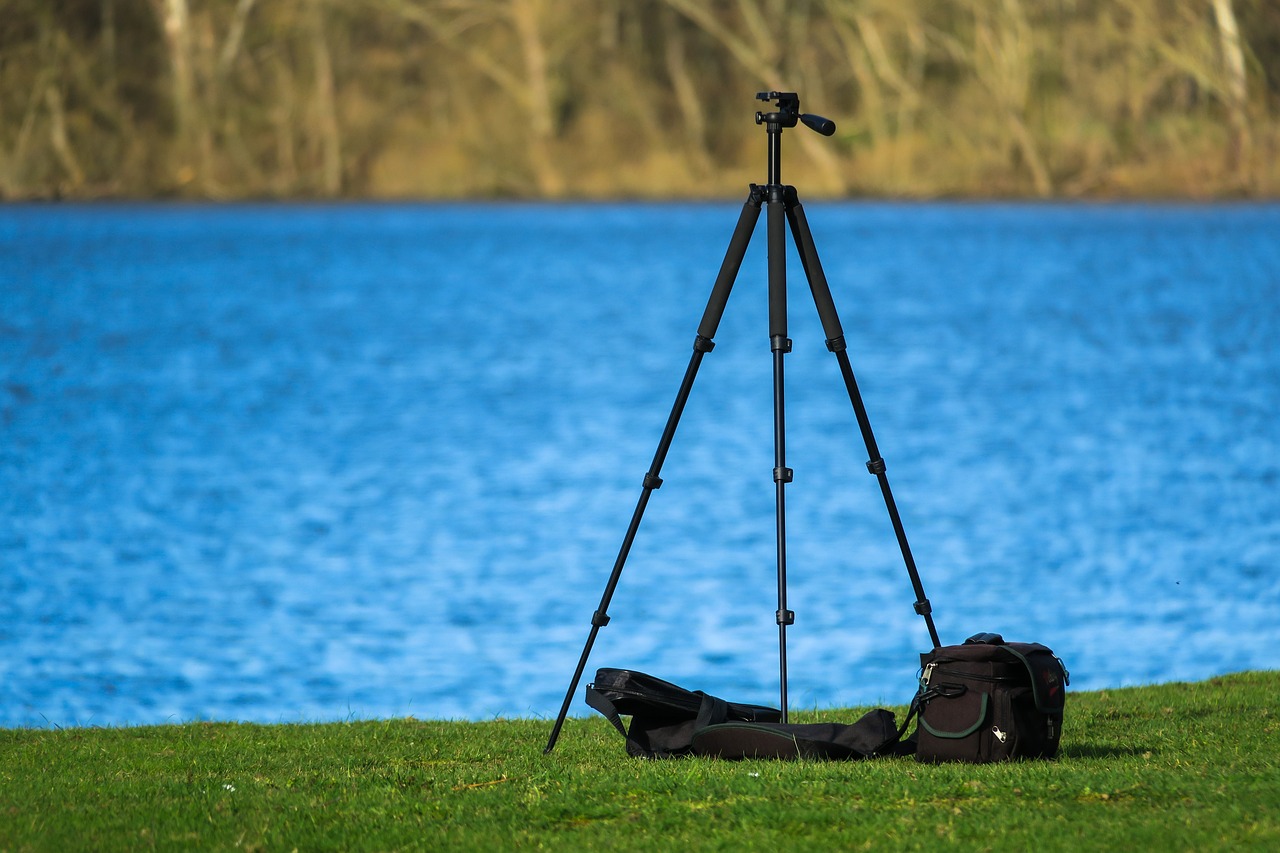
When it comes to setting up your tripod correctly for travel photography, precision and stability are key to capturing that perfect shot. The first step is to unfold the legs of the tripod and adjust them to your desired height. Make sure each leg is securely locked in place to avoid any wobbling or shifting during shooting.
Next, attach your camera securely to the tripod head using a quick-release plate. This ensures that your camera is stable and won't move unexpectedly while you're composing your shot. Adjust the angle and position of the camera to frame your subject effectively, keeping in mind the composition and desired outcome of the photograph.
Once your camera is mounted securely, make sure to level the tripod using the built-in bubble level or a separate leveling tool. This step is crucial for ensuring that your horizon is straight and your composition is well-balanced. Adjust the tripod legs as needed to achieve a level position.
Another important aspect of setting up your tripod correctly is choosing the right location for shooting. Consider the terrain and stability of the ground where you place your tripod. Avoid setting up on uneven or slippery surfaces that could compromise the stability of your setup.
Lastly, double-check all the connections and adjustments before you start shooting. Ensure that the tripod head is securely locked, the camera settings are optimized for the lighting conditions, and everything is in place for you to capture that perfect travel photograph with ease.
Using the Tripod for Long Exposure Shots
When it comes to capturing stunning long exposure shots during your travels, using a tripod is essential for achieving sharp and clear images. Long exposure photography involves keeping the camera still for an extended period to capture moving subjects, such as light trails or night scenes, with precision and clarity. By utilizing a tripod, you can eliminate camera shake and ensure the stability needed for successful long exposure shots.
One of the key techniques for using a tripod effectively in long exposure photography is to set up your equipment on a stable surface. Ensure that the tripod legs are firmly planted on the ground and adjust the height and angle to position your camera exactly where you need it. By securing your camera on the tripod, you can avoid any unwanted movement that could result in blurry images.
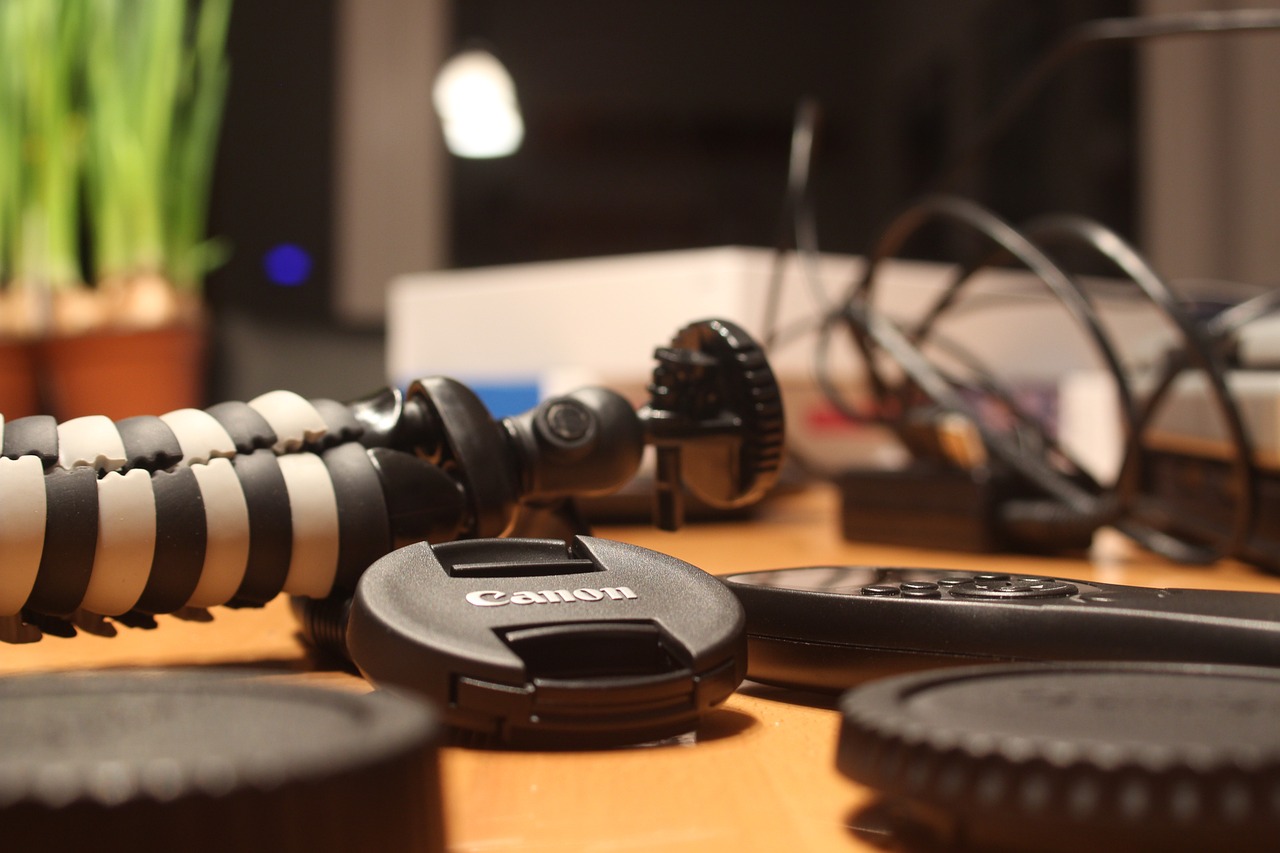
Additionally, when working with long exposure shots, it's crucial to use a remote shutter release or the camera's self-timer function to minimize any physical contact that could cause vibrations. This way, you can trigger the camera without touching it directly, further enhancing the stability of your setup and the sharpness of your images.
To achieve the best results in long exposure photography with a tripod, consider using a sturdy tripod with adjustable legs and a ball head for precise positioning. Experiment with different exposure settings, such as shutter speed and aperture, to find the perfect balance for capturing dynamic and captivating long exposure shots during your travels.
Composition and Framing with a Tripod
When it comes to composition and framing in travel photography, using a tripod can significantly enhance the quality of your shots. The stability provided by a tripod allows you to carefully frame your subject and create well-balanced compositions. Imagine your tripod as a reliable assistant, holding your camera steady while you focus on capturing the perfect shot. It's like having a steady hand guiding you through the process, ensuring that every element in your frame is precisely positioned for maximum impact.
One of the key benefits of using a tripod for composition is the ability to experiment with different angles and perspectives. By adjusting the height and position of your tripod, you can explore unique vantage points that may not be possible when handholding your camera. This flexibility opens up a world of creative possibilities, allowing you to frame your subjects in ways that truly showcase the beauty of your surroundings.
Additionally, a tripod can help you maintain consistency in your framing, especially when capturing a series of shots in the same location. Whether you're shooting a series of landscape photos or documenting a travel experience, having a stable base ensures that each frame is aligned correctly. This consistency is essential for creating a cohesive visual story that resonates with your audience.
Furthermore, using a tripod for composition allows you to pay attention to the finer details of your scene. With the freedom from handholding, you can focus on refining your composition, adjusting the framing, and fine-tuning the elements within your frame. This meticulous approach can elevate your travel photography from ordinary snapshots to captivating works of art, where every detail contributes to the overall narrative.
In essence, mastering composition and framing with a tripod is about precision and intentionality. It's about taking the time to carefully position your camera, frame your subject thoughtfully, and create images that tell a compelling story. With the right techniques and a creative eye, your travel photos can transform into visual masterpieces that capture the essence of your adventures.
Utilizing Tripod Accessories
When it comes to enhancing your travel photography experience, can make a significant difference in the quality and versatility of your shots. These accessories are designed to complement your tripod setup and provide additional functionality to meet various photography needs.
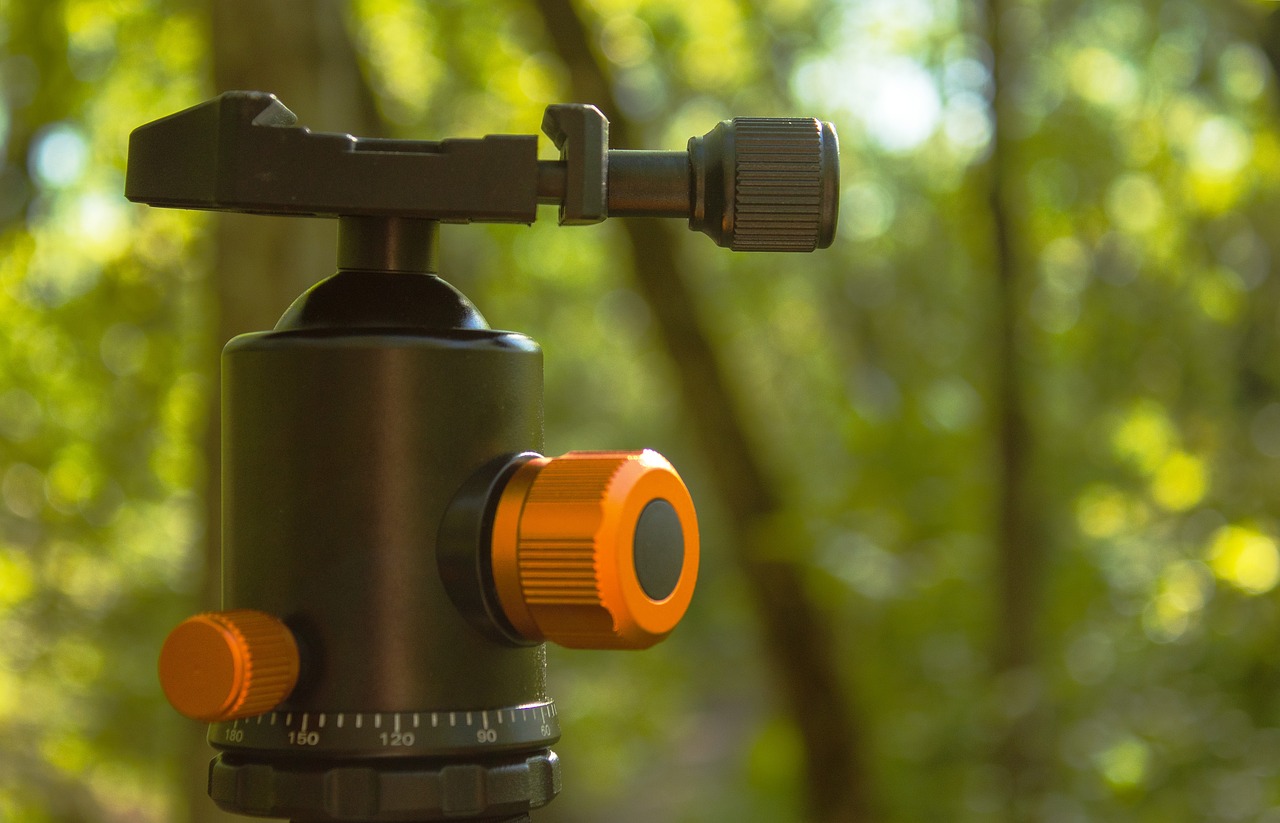
One essential accessory for tripods is a ball head, which allows for smooth and precise adjustments of your camera angle. By using a ball head, you can easily change the orientation of your camera without having to adjust the tripod legs, enabling quick and efficient framing of your shots.
Another handy accessory is a quick-release plate, which enables you to attach and detach your camera swiftly from the tripod. This feature is particularly useful when you need to switch between handheld and tripod shooting quickly, saving you time and ensuring you never miss a shot.
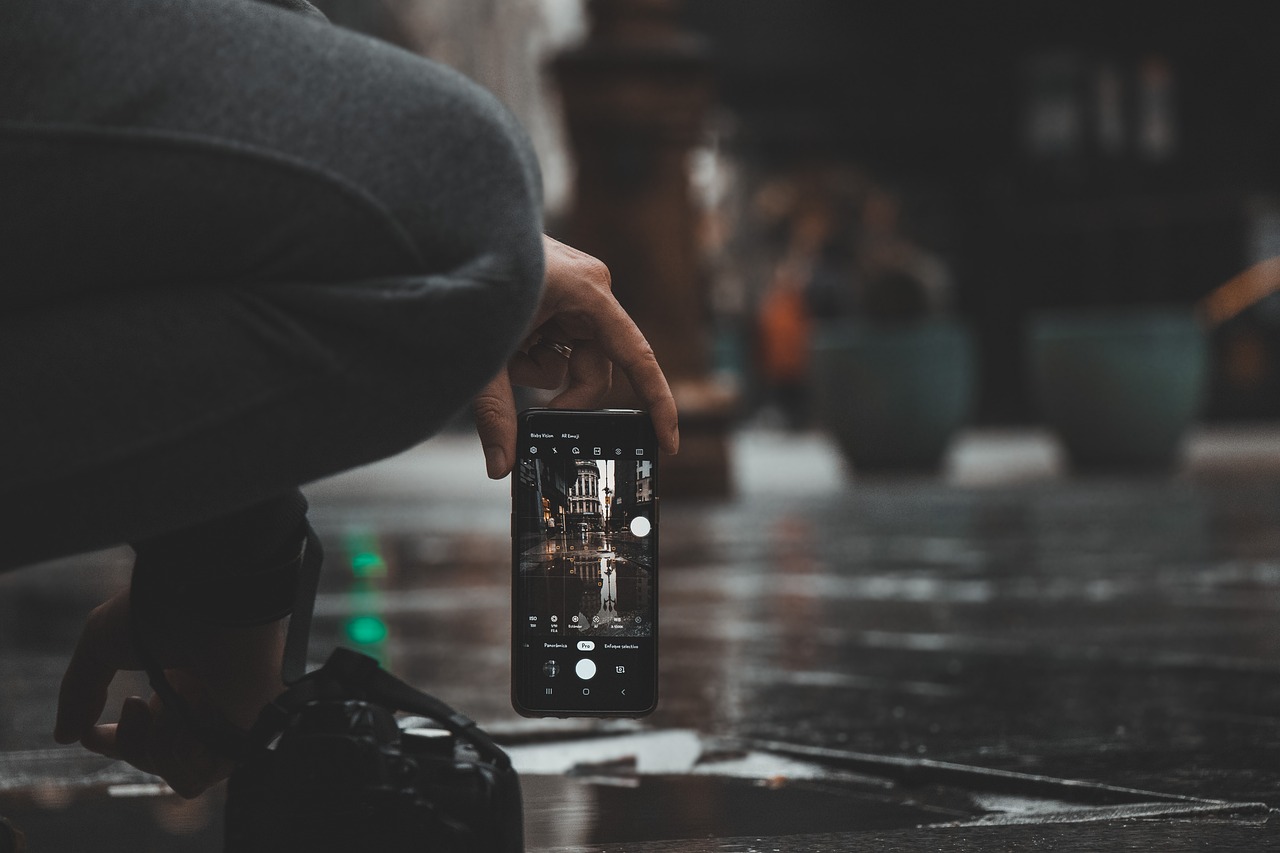
For photographers who enjoy capturing images with their smartphones, a smartphone mount is a valuable accessory to consider. This attachment allows you to secure your phone to the tripod, providing stability and support for taking clear and steady photos or videos using your mobile device.
Additionally, accessories like spike feet can enhance the stability of your tripod on uneven or slippery terrain, ensuring a secure base for your camera. These accessories can be particularly useful when shooting in outdoor environments where traditional tripod feet may struggle to grip the ground effectively.
By incorporating these tripod accessories into your photography kit, you can expand the creative possibilities of your travel photography and achieve professional-level results with ease. Experimenting with different accessories can help you discover new techniques and styles to elevate your photography skills to the next level.
Shooting Panoramas with a Tripod
Shooting panoramas with a tripod opens up a world of possibilities for capturing expansive landscapes and cityscapes in stunning detail. By utilizing a tripod for panoramic photography, you can ensure that each shot seamlessly aligns with the next, resulting in a cohesive and immersive final image. The key to successful panoramic shots lies in maintaining consistent alignment and stability throughout the capturing process.
When shooting panoramas with a tripod, it is essential to start by setting up your equipment on level ground to avoid any tilting or unevenness in the final image. Adjust the tripod legs to the desired height, making sure it provides a stable base for your camera. Using a bubble level on your tripod or camera can help you ensure that everything is perfectly straight before you begin shooting.
Once your tripod is securely set up, it's time to focus on the composition of your panoramic shot. Start by determining the starting point of your panorama and then carefully pan your camera from left to right or vice versa, making sure to overlap each frame by about 20-30%. This overlap is crucial for software to seamlessly stitch the individual images together later.
When capturing panoramic images with a tripod, it's important to maintain a consistent exposure and white balance settings across all frames to avoid any discrepancies in the final image. Additionally, using a remote shutter release or the camera's self-timer function can help minimize camera shake and ensure sharp, blur-free images.
After capturing all the frames for your panorama, it's time to bring them together in post-processing software. Programs like Adobe Lightroom or Photoshop offer tools specifically designed for stitching panoramic images, allowing you to align and blend the frames seamlessly. Pay attention to details like horizon alignment and overall image coherence to create a visually striking panoramic photograph.
Capturing Time-Lapse Photography
When it comes to capturing mesmerizing time-lapse sequences during your travels, utilizing a tripod is essential for ensuring smooth and steady footage. Time-lapse photography involves capturing a series of images at set intervals over a period of time and then combining them to create a video that compresses time. By using a tripod, you can maintain the stability and consistency needed for seamless transitions between frames.
One key aspect of capturing time-lapse photography with a tripod is selecting the appropriate interval between shots. This interval will depend on the speed of the motion you want to capture and the overall duration of your time-lapse sequence. By setting your camera on a tripod, you can avoid any unwanted camera movements that could disrupt the flow of your time-lapse.
Additionally, when shooting time-lapse photography with a tripod, it's crucial to consider the composition of your shots. Ensure that your camera is securely mounted on the tripod and that the framing is consistent throughout the sequence. This will result in a visually cohesive time-lapse video that is both engaging and professional.
Another benefit of using a tripod for time-lapse photography is the ability to make smooth and gradual adjustments to your camera settings. By keeping your camera steady on a tripod, you can easily tweak settings such as exposure, aperture, and focus without introducing any unwanted camera shake.
Furthermore, incorporating motion into your time-lapse sequences can add a dynamic element to your travel videos. With a tripod, you can smoothly pan or tilt your camera to follow the motion of your subject or capture changes in the environment over time. This level of control and precision is only achievable with the stability provided by a reliable tripod.
Troubleshooting Common Tripod Issues
When it comes to using a tripod for travel photography, encountering common issues is not uncommon. However, knowing how to troubleshoot these problems can make a significant difference in the quality of your shots. One common issue photographers face is stability on uneven terrain. To address this, consider using tripod leg extensions or stabilizing hooks to ensure a steady base for your camera setup.
Another common problem is dealing with windy conditions that can cause vibrations and affect the sharpness of your images. To combat this, try using a heavier tripod or adding weights to the center column for increased stability. Additionally, using a remote shutter release or the camera's self-timer function can help minimize camera shake caused by pressing the shutter button.
Issues with adjusting the tripod height or angle may also arise, leading to difficulties in framing your shots accurately. In such cases, familiarize yourself with your tripod's locking mechanisms and adjustment knobs to make quick and precise changes. Regularly check and tighten all connections to prevent any unwanted movement during shooting.
Furthermore, if you find that your tripod is not level on uneven surfaces, consider using a leveling base or a ball head with a built-in leveling feature for easy adjustments. Ensuring that your tripod is properly leveled is crucial for maintaining the horizon line and avoiding skewed compositions in your photographs.
Lastly, if you encounter challenges with the tripod legs slipping or sinking into soft ground, using spiked feet or rubber leg tips can provide better traction and stability. Always double-check the tightness of the leg locks and consider using a ground spreader or a stabilizing hook to distribute weight evenly and prevent sinking.
By understanding and addressing these common tripod issues, you can elevate your travel photography game and capture stunning images with ease and precision.
Frequently Asked Questions
- What are the key factors to consider when choosing a tripod for travel photography?
When selecting a tripod for travel photography, it is essential to consider factors such as weight, height, stability, and portability. Opt for a lightweight yet sturdy tripod that can support your camera gear comfortably while being easy to carry during your travels.
- How do I properly set up a tripod for my camera?
To set up your tripod correctly for your camera, start by extending the legs to the desired height and ensuring they are securely locked in place. Adjust the tripod head to level your camera and tighten all knobs to prevent any movement. Finally, attach your camera securely to the tripod using a quick-release plate for added stability.
- What are some common tripod accessories that can enhance my photography experience?
There are various tripod accessories available, including ball heads for smooth camera movement, quick-release plates for easy mounting and dismounting of your camera, and smartphone mounts for capturing photos with your phone. These accessories can help improve the versatility and functionality of your tripod for different shooting scenarios.


