Best Practices for Travel Photography During the Day and Night
Travel photography is a captivating art that allows us to freeze moments in time, preserving memories of our adventures and experiences. Whether you're exploring bustling city streets under the bright sun or wandering through tranquil landscapes under the blanket of night, capturing stunning travel photographs requires a blend of skill, creativity, and technical know-how. In this article, we will delve into the best practices for mastering the art of travel photography during both day and night, covering everything from equipment selection to editing techniques.
Choosing the Right Equipment
Travel photography is an exciting endeavor that allows you to capture the beauty of different destinations at varying times of the day. Whether you are exploring a bustling city during daylight or immersing yourself in the tranquility of a starry night, having the right skills and equipment is crucial to creating stunning travel photographs that truly capture the essence of your journey.
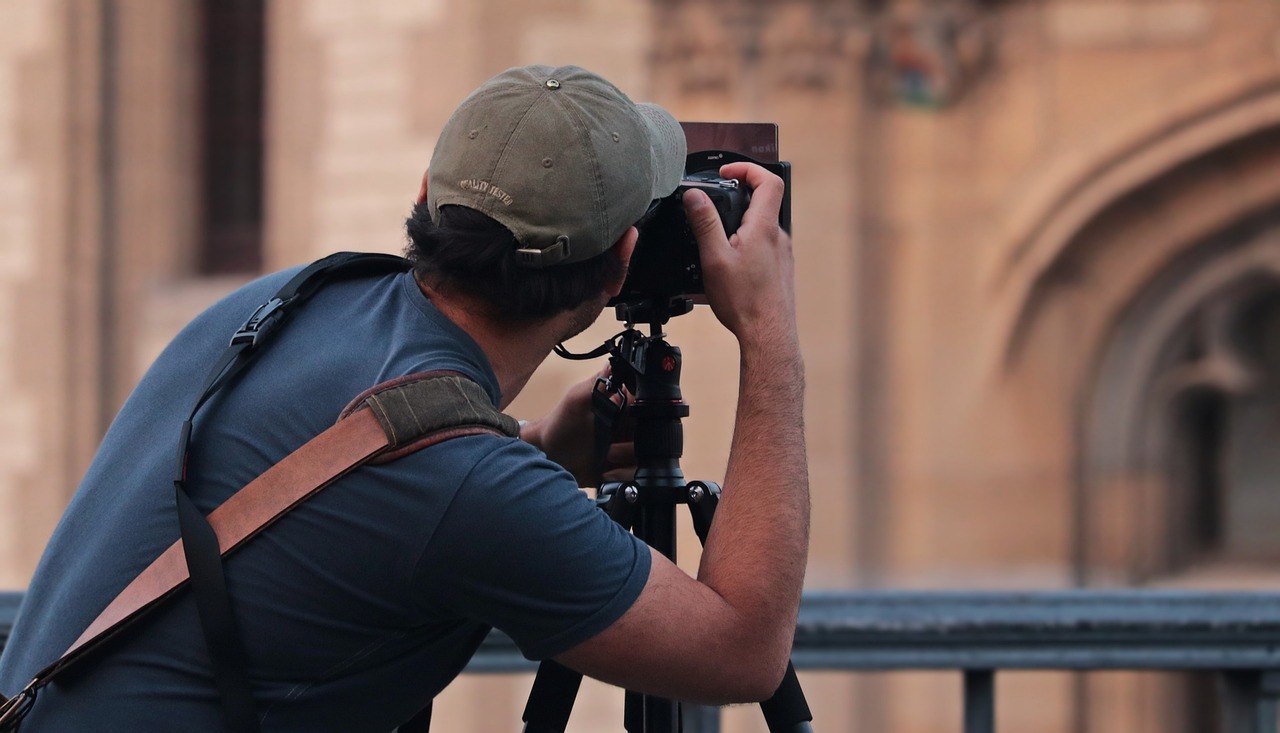
When embarking on a travel photography adventure, selecting the appropriate camera gear and accessories can make a significant difference in the quality of your shots. The type of equipment you choose will depend on the specific lighting conditions you anticipate encountering during your travels. For daytime photography, a versatile DSLR or mirrorless camera with a selection of lenses can provide you with the flexibility to capture a wide range of scenes with clarity and detail. Additionally, investing in a sturdy tripod can help you achieve sharp images, especially in low light situations.
For nighttime photography, consider a camera with excellent low-light performance and the ability to adjust settings such as ISO, aperture, and shutter speed to capture the nuances of light in the dark. Carrying a portable external flash or LED light can also be beneficial for illuminating subjects in night scenes and adding depth to your photographs.
Furthermore, don't forget to pack essential accessories such as extra batteries, memory cards, lens cleaning tools, and a camera bag to protect your gear while on the go. By equipping yourself with the right tools, you can ensure that you are prepared to capture breathtaking travel moments regardless of the time of day.
Understanding Lighting Techniques
Understanding lighting techniques is crucial for capturing stunning travel photographs during the day and night. Whether you're exploring a bustling cityscape under the bright sun or immersing yourself in the mysterious ambiance of a nocturnal setting, knowing how to harness light effectively can make all the difference in your images.
One essential aspect of lighting is natural light, which varies throughout the day and can create different moods and effects in your photos. Understanding how to work with the direction and intensity of natural light can help you achieve the desired atmosphere in your travel shots. Additionally, artificial light sources such as street lamps, neon signs, or car headlights can add a unique touch to your nighttime photographs, creating a vibrant and dynamic visual narrative.
When it comes to exposure settings, mastering the balance between light and shadow is key to producing well-exposed travel images. Adjusting your aperture, shutter speed, and ISO settings according to the available light can help you achieve the desired exposure levels and maintain image quality in various lighting conditions.
Moreover, understanding the concept of color temperature and white balance is essential for ensuring that the colors in your travel photos appear accurate and realistic. By fine-tuning these settings based on the light source and environment, you can avoid color casts and preserve the authenticity of the scene you're capturing.
Experimenting with different lighting techniques and settings can open up a world of creative possibilities in your travel photography. Whether you're playing with shadows to add depth to your daytime shots or using long exposure to capture the movement of light trails at night, understanding how light interacts with your camera can elevate your images to a whole new level.
Composition and Framing Tips
When it comes to travel photography, mastering composition and framing is essential to create visually stunning and captivating images that truly capture the essence of your journey. Composition rules serve as the foundation for creating well-balanced and engaging photographs, guiding the viewer's eye through the scene and conveying a sense of harmony and unity.
One key principle to keep in mind is the rule of thirds, where the frame is divided into a grid of nine equal sections, both horizontally and vertically. By placing key elements along these gridlines or at their intersections, you can create a more dynamic and visually appealing composition. This technique helps to avoid placing the subject right in the center, adding interest and balance to the image.
Experimenting with different angles and perspectives can also greatly enhance the composition of your travel photos. Instead of always shooting from eye level, try getting low to the ground or finding a higher vantage point to add a unique and creative touch to your images. Changing your viewpoint can transform an ordinary scene into something extraordinary.
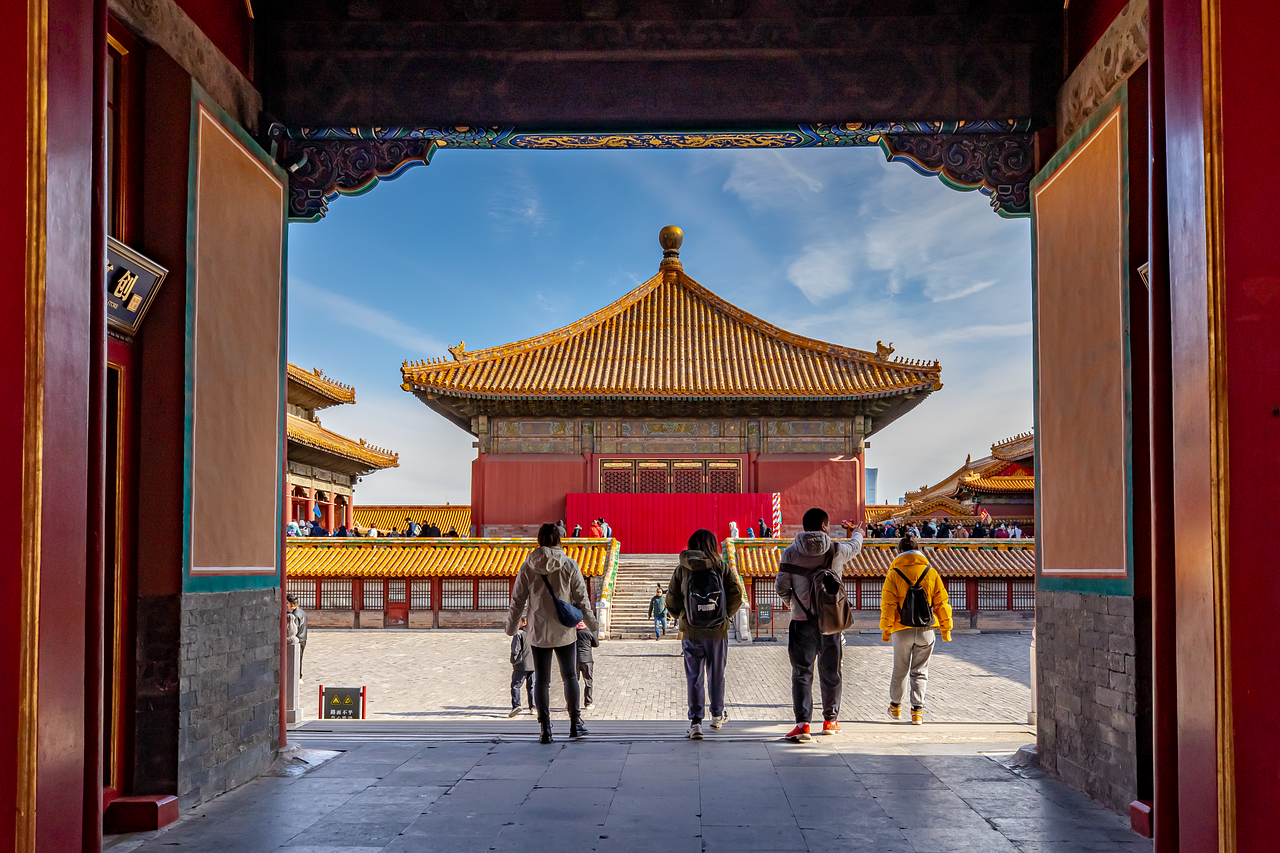
Furthermore, framing your subject within the surroundings can provide context and depth to your travel photographs. Look for natural frames such as archways, windows, or trees to add a sense of dimension and lead the viewer's gaze towards the main focal point. This technique can help create a more immersive and storytelling image that transports viewers to the heart of your travel experience.
Remember, composition and framing are not just about following strict rules but also about unleashing your creativity and experimenting with different techniques to find your unique style. Don't be afraid to break the rules occasionally and trust your instincts to capture the essence and emotion of your travel adventures through your lens.
Managing White Balance and Color Temperature
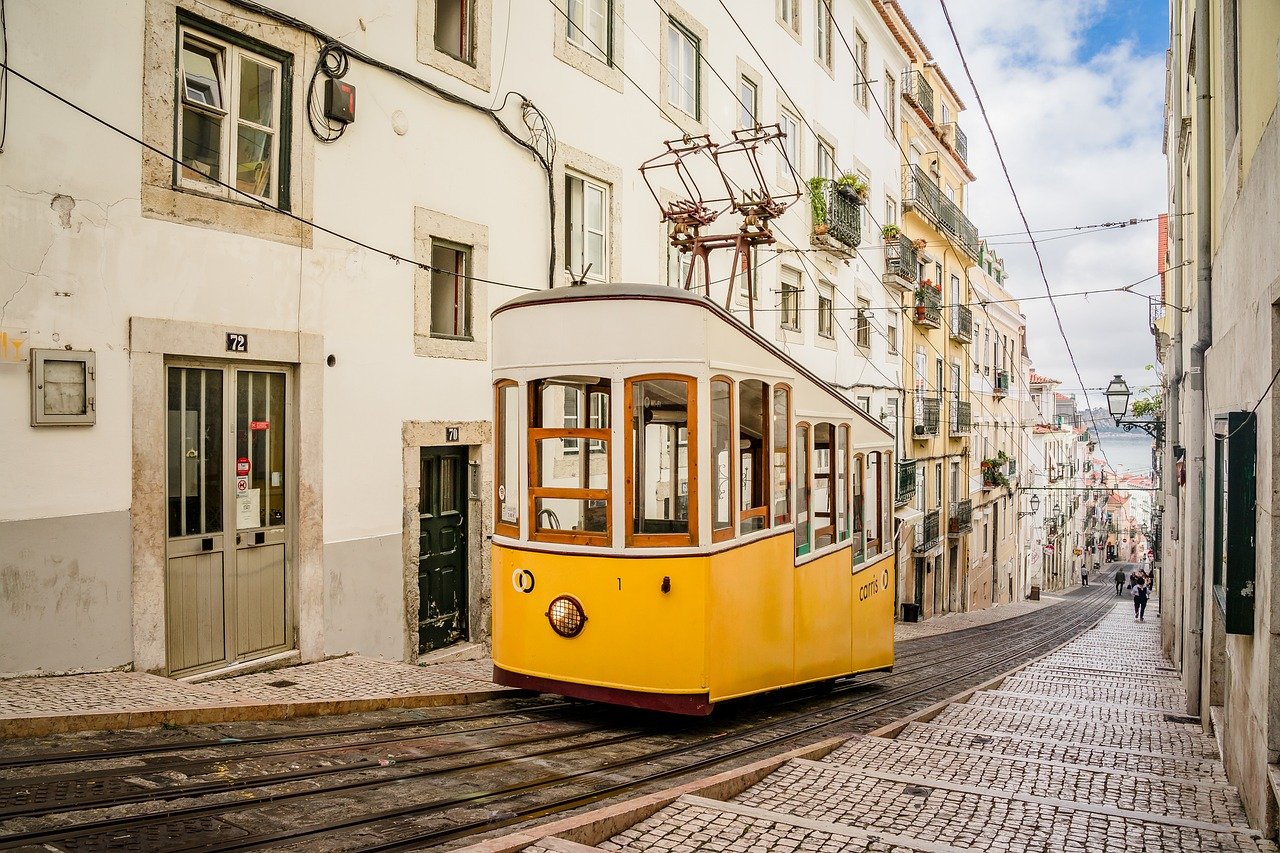
When it comes to travel photography, managing white balance and color temperature plays a crucial role in ensuring the accuracy and vibrancy of your images. White balance refers to the adjustment of colors in a photo to appear natural, while color temperature determines the warmth or coolness of the overall image. Understanding how to control these settings can significantly impact the quality of your travel photographs, especially when shooting in diverse lighting conditions.
One way to manage white balance is by using the presets on your camera, such as daylight, cloudy, shade, or tungsten, to match the lighting environment you are shooting in. These presets help in neutralizing any color casts that may occur due to different light sources. Additionally, adjusting the white balance manually allows for more precise control over the colors in your images, ensuring they appear true to life.
Color temperature, measured in Kelvin, dictates the overall mood of your photos. Lower Kelvin values produce warm, golden tones ideal for sunset or candlelit scenes, while higher values result in cooler, bluish hues perfect for capturing the serenity of moonlit landscapes. By understanding how color temperature influences the atmosphere of your images, you can evoke specific emotions and enhance the storytelling aspect of your travel photography.
When shooting during the day, natural light sources like the sun can vary in color temperature depending on the time of day. During sunrise and sunset, known as the golden hour, the warm hues create a magical glow that enhances the beauty of landscapes and portraits. Adjusting your white balance settings to accentuate these golden tones can elevate your daytime travel photos to a new level of visual appeal.
Conversely, shooting at night presents unique challenges due to artificial light sources with different color temperatures. Street lights, neon signs, and car headlights can cast unnatural colors on your subjects if not managed correctly. By adjusting your camera's white balance settings and experimenting with color temperature, you can capture the essence of nighttime scenes while maintaining the authenticity of the colors present.
Utilizing Long Exposure Techniques
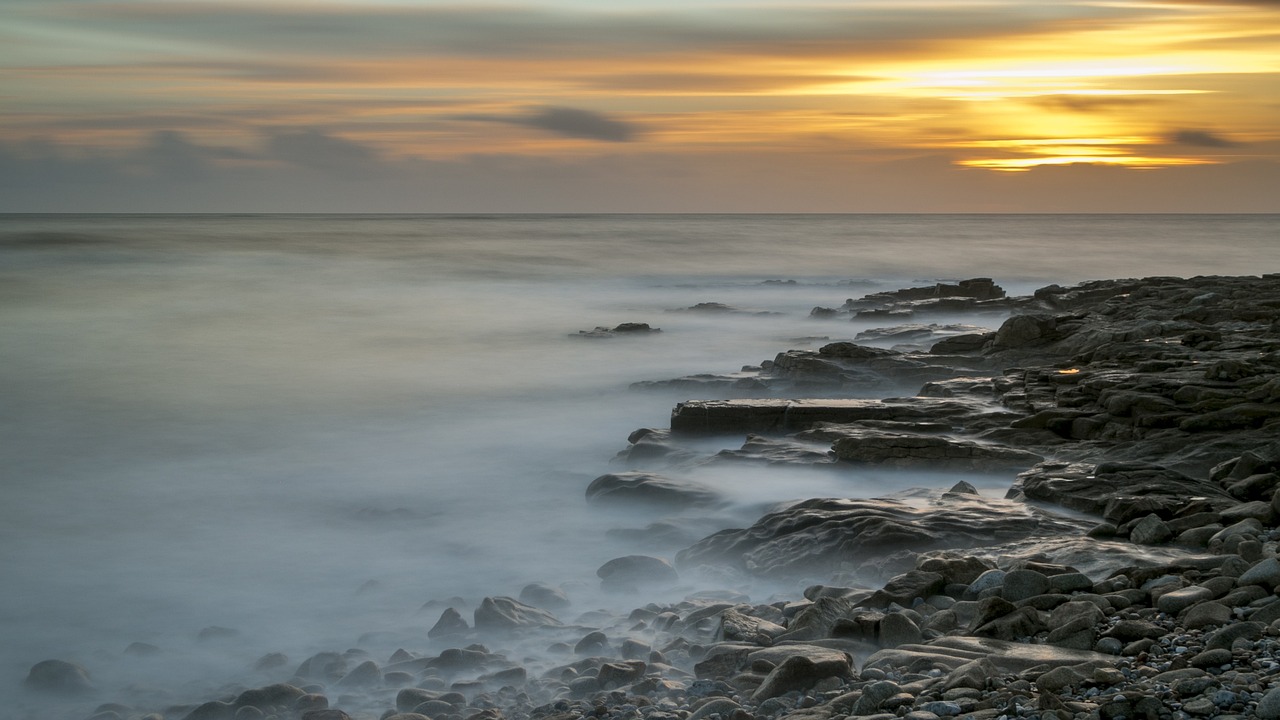
Long exposure photography is a fascinating technique that allows photographers to capture the passage of time in a single frame. By using a slow shutter speed, photographers can create stunning effects such as light trails, smooth water surfaces, and dynamic motion blur. This technique is especially popular in night photography, where the extended exposure time can transform mundane scenes into mesmerizing works of art.
One key aspect of utilizing long exposure techniques is stability. To avoid camera shake and ensure sharp images, it's essential to use a sturdy tripod. This will help maintain the camera's position during the extended exposure, resulting in clear and crisp photos. Additionally, using a remote shutter release or the camera's self-timer can further reduce the risk of vibrations caused by manually pressing the shutter button.
When experimenting with long exposure photography, it's crucial to consider the movement within the frame. Objects in motion, such as cars, people, or clouds, can create captivating streaks of light or blur effects when captured with a long exposure. By strategically choosing subjects and framing the shot, photographers can enhance the visual impact of their images and convey a sense of dynamism and energy.
Another important factor to keep in mind when using long exposure techniques is exposure settings. Since the shutter will be open for an extended period, adjusting the aperture and ISO settings is necessary to control the amount of light entering the camera. A smaller aperture (higher f-stop) can help create sharper images with greater depth of field, while a lower ISO can reduce noise in the final photograph.
Experimenting with different exposure times is also key to mastering long exposure photography. While there are no strict rules, varying the shutter speed can produce different effects. For example, a longer exposure time will result in more pronounced light trails, while a shorter exposure can capture subtle movements with a hint of blur. By testing different settings and practicing patience, photographers can unlock the full creative potential of long exposure techniques.
Editing and Post-Processing Tips
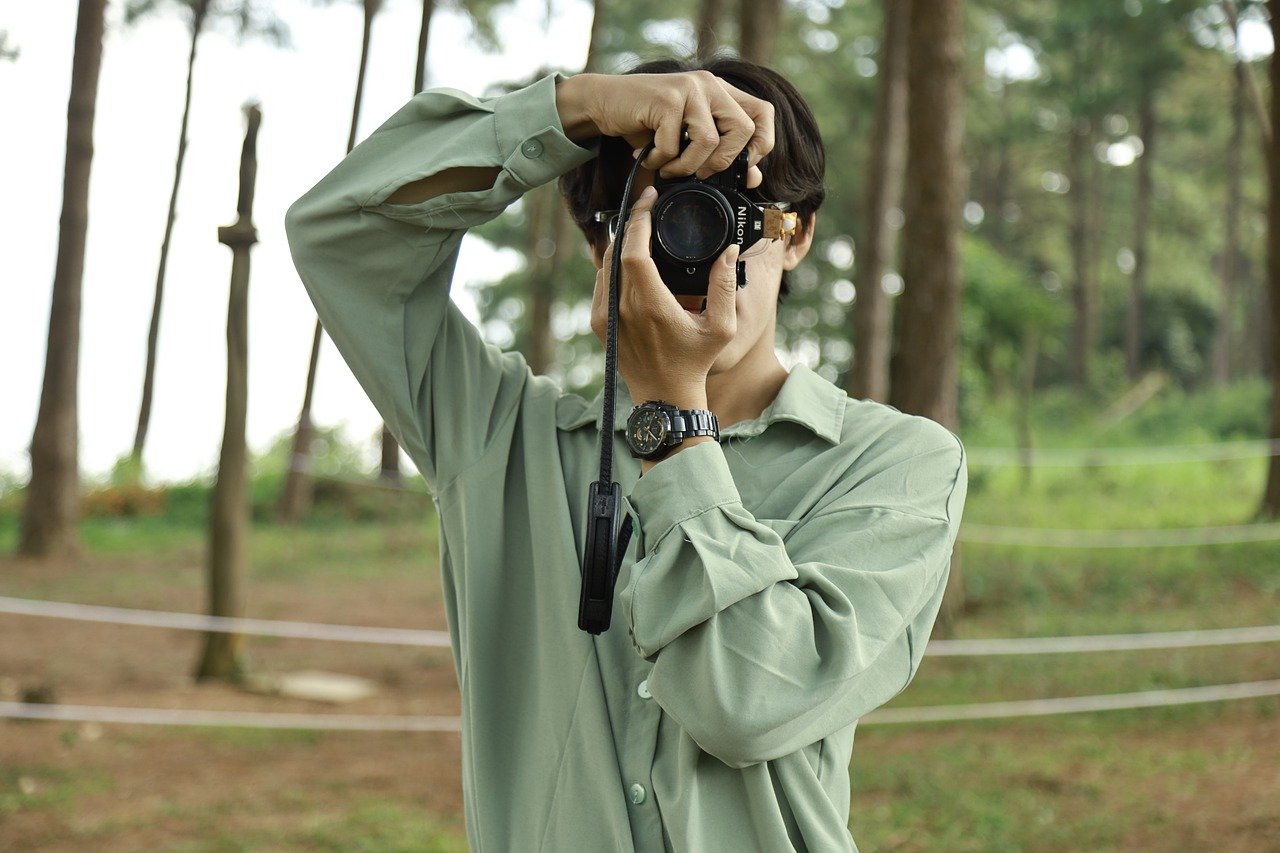
When it comes to travel photography, capturing the perfect shot is just the beginning. Editing and post-processing play a crucial role in enhancing your images and making them truly stand out. With the right software and techniques, you can take your travel photos to the next level, ensuring they look their best regardless of the time of day.
One essential tip for editing travel photos is to maintain a balance between enhancing the image and preserving its natural beauty. Avoid over-editing, which can lead to unrealistic results and detract from the authenticity of the scene you captured. Instead, focus on subtle adjustments that enhance the colors, contrast, and overall mood of the photograph.
Utilizing presets can be a time-saving way to achieve a consistent look across your travel photo collection. Whether you create your own presets or use pre-made ones, applying them can streamline your editing process and give your images a cohesive aesthetic. However, it's important to customize presets to suit each photo's unique characteristics for the best results.
Experimenting with different editing techniques, such as cropping, adjusting exposure, and applying selective edits, can help you bring out the best in your travel images. Don't be afraid to get creative and try new approaches to see what works best for each photo. Remember, editing is a subjective process, and there's no one-size-fits-all solution.
When it comes to post-processing, paying attention to details is key. Make sure to check for any distractions or imperfections in your images and use tools like spot healing and cloning to clean them up. Additionally, sharpening and noise reduction can help refine the overall look of your travel photos, ensuring they appear crisp and professional.
Lastly, don't underestimate the power of post-processing in storytelling. Editing can help you emphasize certain elements of your travel photos, evoke specific emotions, and guide the viewer's eye through the image. By mastering editing and post-processing techniques, you can truly bring your travel experiences to life through your photographs.
Creating Silhouettes and Shadows
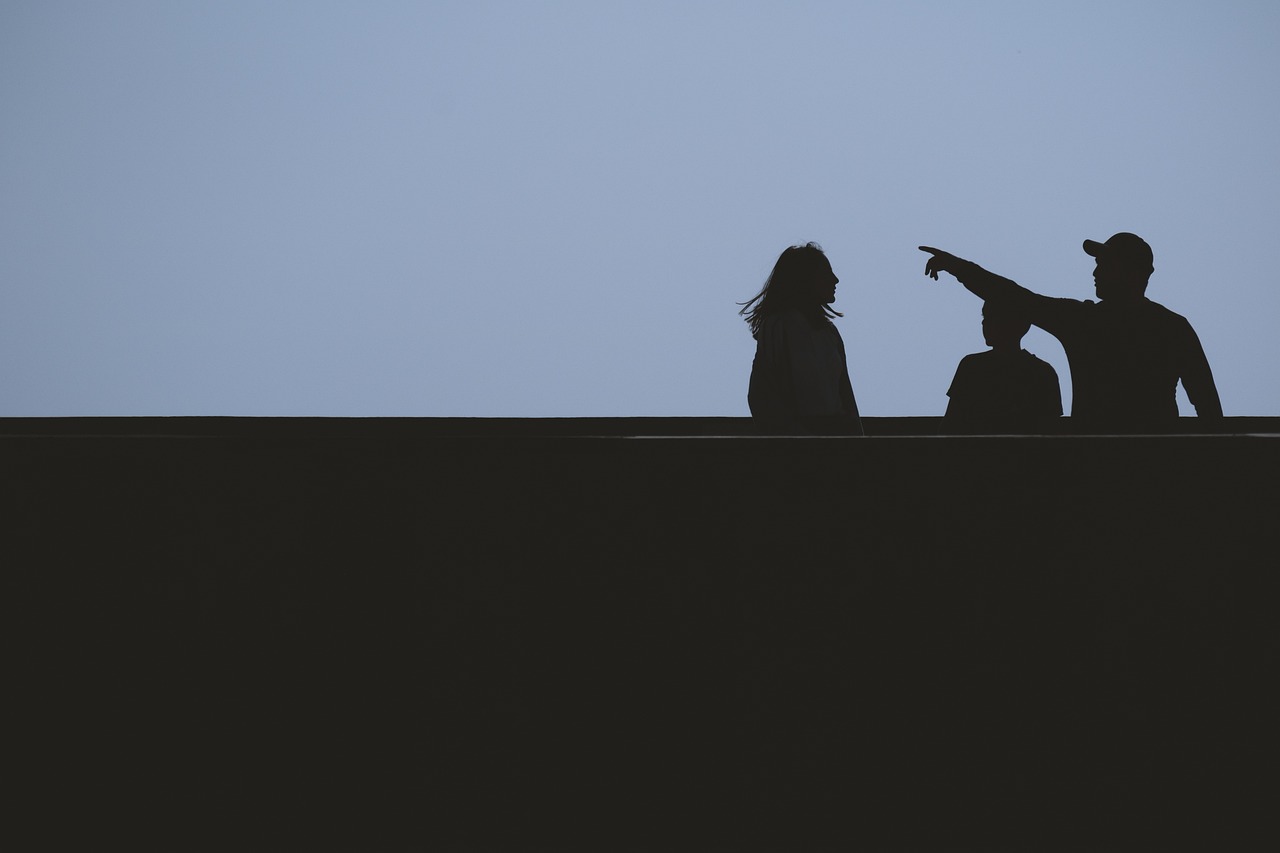
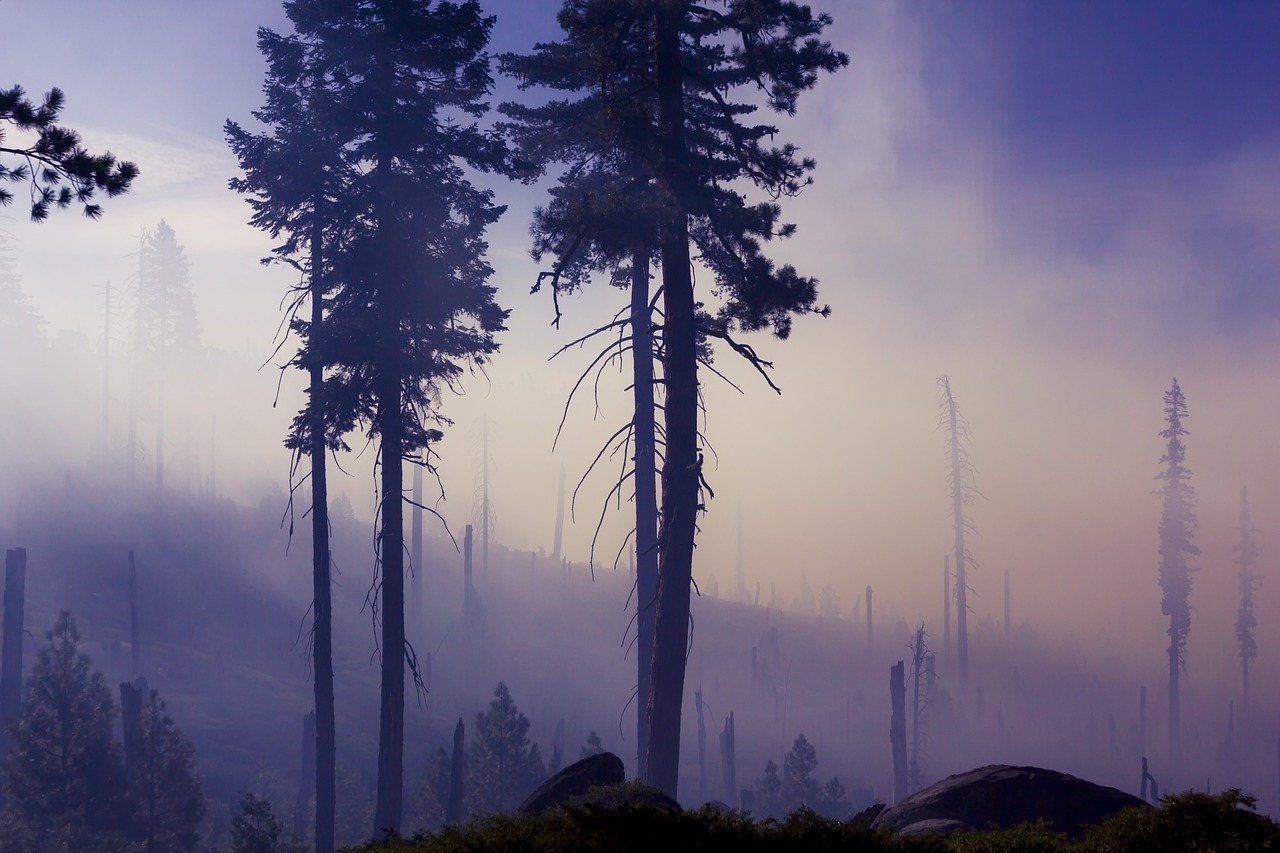
Creating silhouettes and shadows in travel photography is like painting with darkness, using the absence of light to shape your narrative. Silhouettes can add a sense of mystery and drama to your images, while shadows can create depth and contrast, enhancing the visual impact of your photographs.
One technique for creating striking silhouettes is to position your subject in front of a bright light source, such as the sun, so that it appears as a dark outline against the bright background. This contrast between light and dark can evoke a sense of intrigue and draw the viewer's eye to the shape of the subject rather than its details.
Shadows, on the other hand, can be used to play with patterns and textures in your travel photos. By paying attention to the direction and intensity of light, you can create dynamic shadow patterns that add a layer of complexity to your composition. Shadows can also be used to frame your subject or lead the viewer's gaze through the image, guiding them towards the focal point.
Experimenting with different angles and perspectives can help you make the most of silhouettes and shadows in your travel photography. Consider shooting from low angles to elongate shadows or incorporating elements like trees or buildings to cast interesting silhouettes. By playing with light and dark, you can transform ordinary scenes into captivating visual stories that leave a lasting impression on viewers.
Capturing Golden Hour and Blue Hour Moments
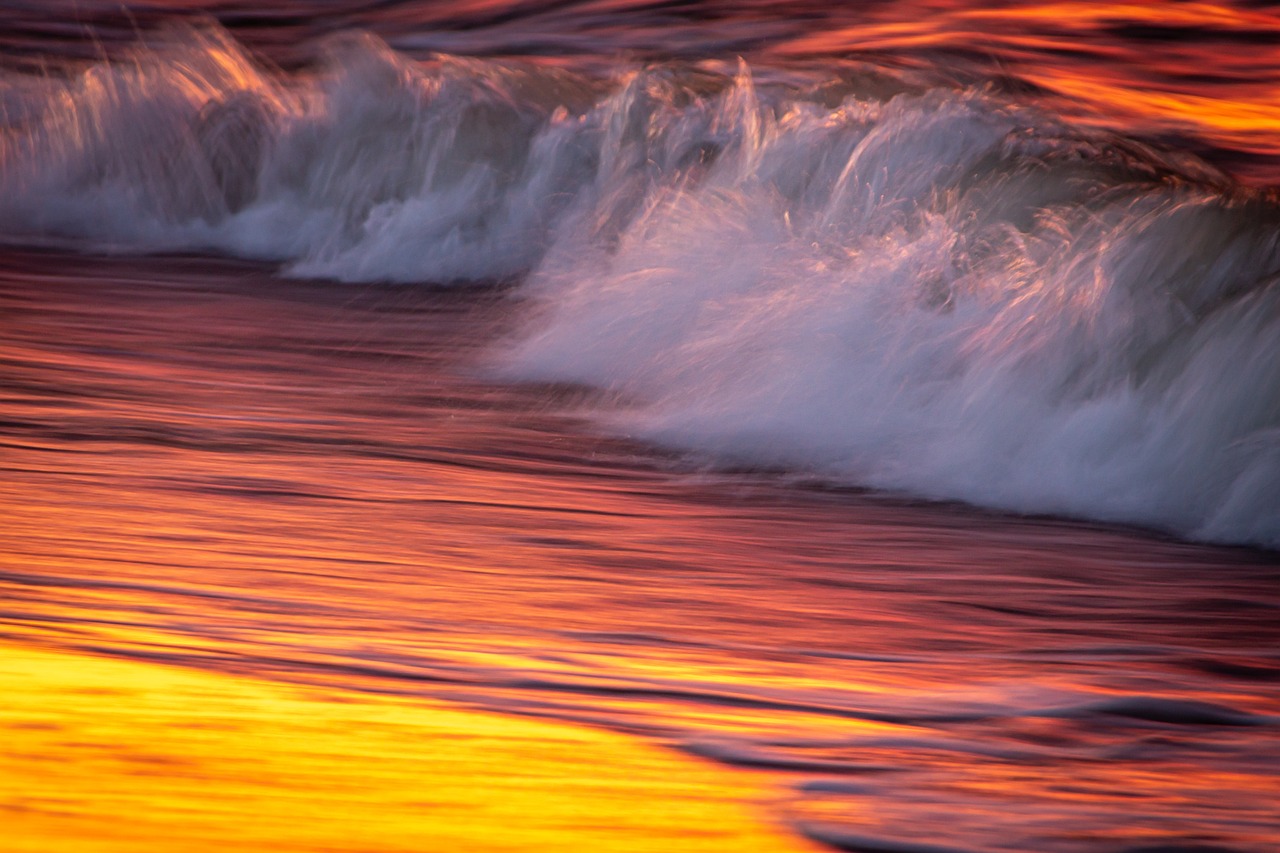
When it comes to capturing breathtaking travel photographs, mastering the art of seizing the golden hour and blue hour moments can truly elevate your images to a whole new level. These magical periods of the day, occurring around sunrise and sunset, offer photographers a unique opportunity to play with warm, soft light and stunning color gradients in the sky.
During the golden hour, the sun sits low on the horizon, casting a golden glow across the landscape, creating a warm and inviting atmosphere. This period is ideal for capturing rich, vibrant colors and adding a touch of magic to your travel photos. The soft, diffused light during this time can beautifully illuminate your subjects, creating a dreamy and ethereal effect.
On the other hand, the blue hour, which takes place just before sunrise and after sunset, presents a different kind of beauty. The sky transforms into a mesmerizing gradient of deep blue hues, offering a dramatic backdrop for your travel shots. The soft, indirect light of the blue hour can add a sense of mystery and tranquility to your images, making them truly captivating.
To make the most of these special moments, it's essential to plan ahead and be prepared to shoot during these brief yet magical windows of time. Arriving at your location early and scouting for interesting compositions can help you capture the essence of the golden and blue hours effectively. Experimenting with different angles, perspectives, and focal points can add depth and visual interest to your photos, making them stand out.
Additionally, adjusting your camera settings to optimize exposure and white balance during these low-light conditions is crucial. Using a tripod to ensure stability and reduce camera shake can help you achieve sharp and clear images, especially when working with longer exposure times. Embracing the challenges and opportunities presented by the golden and blue hours can lead to stunning travel photographs that evoke a sense of wonder and beauty.
Storytelling Through Travel Photography
Storytelling through travel photography is a powerful way to convey emotions, capture memories, and share experiences with viewers. When you look at a well-composed travel photo, it should not only show a beautiful landscape or an interesting subject but also tell a story. Each photograph has the potential to evoke a sense of wanderlust, nostalgia, or awe, drawing the viewer into the scene and allowing them to connect with the moment captured.
One of the key aspects of storytelling through travel photography is to focus on the narrative behind the image. Consider what story you want to tell with your photograph. Is it about the vibrant culture of a bustling city, the serenity of a remote beach, or the resilience of a community facing challenges? By understanding the message you want to convey, you can compose your shot in a way that effectively communicates that story to the viewer.
Composition plays a crucial role in storytelling through photography. Pay attention to the elements within the frame and how they interact with each other. Consider using leading lines to guide the viewer's eye through the image, incorporating foreground elements to add depth, or capturing candid moments that reveal the essence of a place. By thoughtfully arranging the visual elements in your photograph, you can create a narrative that resonates with the audience.
Lighting also plays a significant role in storytelling through travel photography. The way light falls on a scene can evoke different moods and emotions. Whether you are shooting during the golden hour with its warm, soft light or capturing the mysterious atmosphere of a night scene, the lighting sets the tone for the story you are telling. Experiment with different lighting conditions to see how they enhance the narrative of your travel photographs.
Furthermore, storytelling through travel photography involves capturing authentic moments and emotions. Look for candid interactions, genuine expressions, and unique details that reveal the character of a place. Avoid overly staged shots and instead focus on capturing the essence of the moment as it unfolds. These authentic moments not only add depth to your storytelling but also create a connection between the viewer and the subject of the photograph.
In essence, storytelling through travel photography is about more than just taking pretty pictures. It's about capturing the essence of a place, conveying emotions, and inviting viewers to immerse themselves in the story behind the image. By mastering the art of storytelling through photography, you can create compelling visual narratives that resonate with audiences and leave a lasting impact.
Frequently Asked Questions
- What camera gear is best for travel photography during the day and night?
When it comes to capturing stunning travel photographs, it's essential to have the right equipment. For daytime shots, a versatile DSLR or mirrorless camera with a good quality lens can work wonders. For night photography, consider a camera with excellent low-light performance and a sturdy tripod to keep your shots steady.
- How can I make the most of natural light for travel photography?
Natural light can be a powerful tool for enhancing your travel photos. To maximize its impact, try shooting during the golden hour or blue hour when the light is soft and warm. Experiment with different angles and perspectives to create depth and dimension in your images.
- What are some tips for creating compelling compositions in travel photography?
Composition plays a crucial role in the success of a travel photograph. Remember to use the rule of thirds, leading lines, and framing techniques to draw the viewer's eye into the scene. Explore different vantage points and perspectives to add visual interest and storytelling elements to your images.
- How can I enhance my travel photos through post-processing?
Editing software can be a powerful tool for refining and enhancing your travel photos. Experiment with adjusting exposure, contrast, and color balance to bring out the best in your images. Don't be afraid to get creative and try different editing techniques to make your photos truly stand out.


