How to Make the Most of Golden Hour in Your Travel Shots
Golden hour, that magical time of day beloved by photographers, holds immense potential for capturing breathtaking travel shots. It's a period shortly after sunrise or before sunset when the light transforms, becoming soft, warm, and ideal for photography. During this time, the sun sits low in the sky, casting a golden glow over everything it touches. It's a moment when landscapes come alive, cityscapes shine, and iconic landmarks take on a whole new allure. Understanding how to make the most of golden hour can elevate your travel photography to new heights.
Understanding Golden Hour
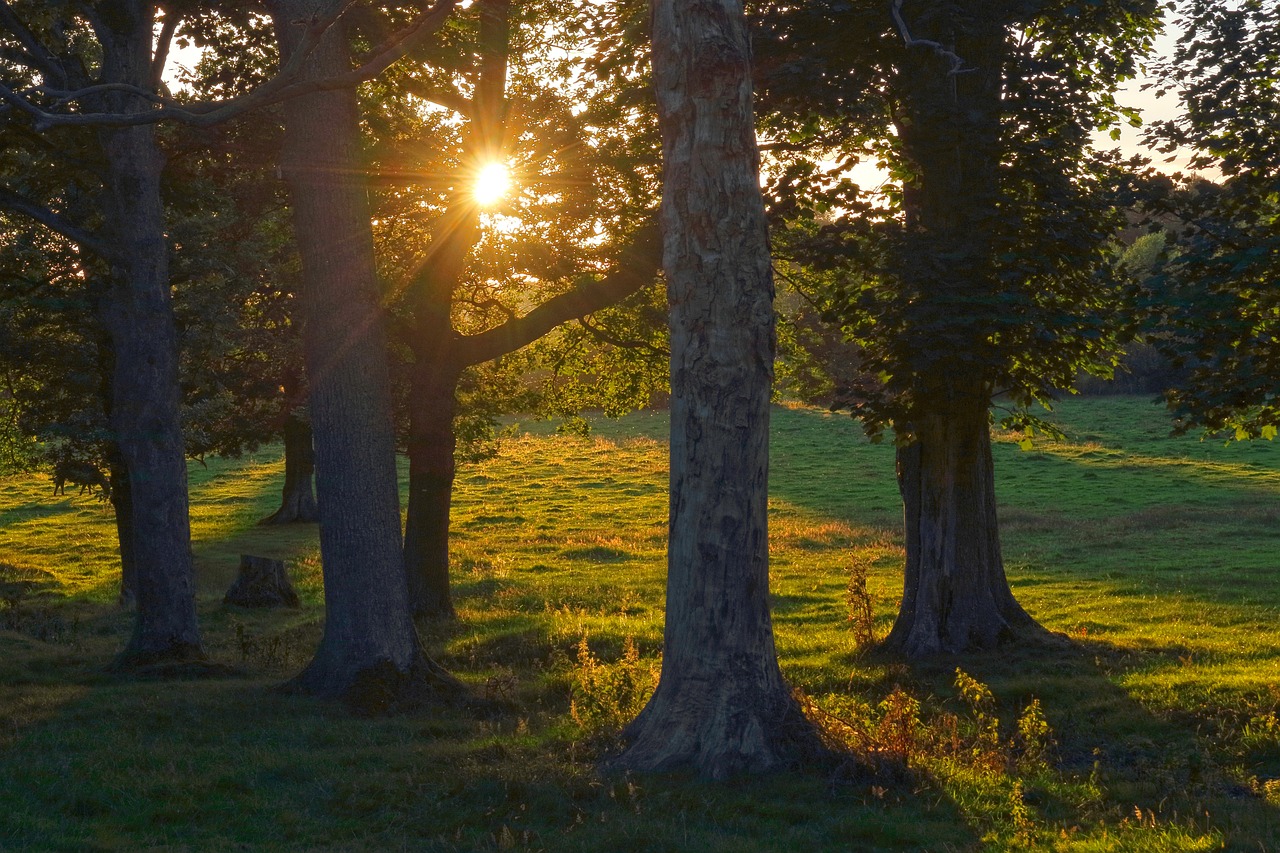
When it comes to photography, understanding the concept of the golden hour is crucial for capturing breathtaking travel shots. The golden hour refers to the period shortly after sunrise or before sunset when the sun is low in the sky, casting a soft, warm light that adds a magical quality to your photos. This time of day offers photographers a unique opportunity to create stunning images with a golden hue that enhances the overall mood and atmosphere of the scene.
During the golden hour, the angle of the sun creates long shadows and a beautiful, diffused light that is ideal for photography. The warm tones of the sunlight can transform ordinary landscapes and cityscapes into extraordinary works of art, making this time of day highly coveted by photographers around the world.
To make the most of the golden hour, it's essential to plan ahead and be prepared to take advantage of the fleeting light. Whether you're shooting in a natural setting or a bustling cityscape, understanding how to harness the power of the golden hour can elevate your travel shots to the next level.
Choosing the Right Location
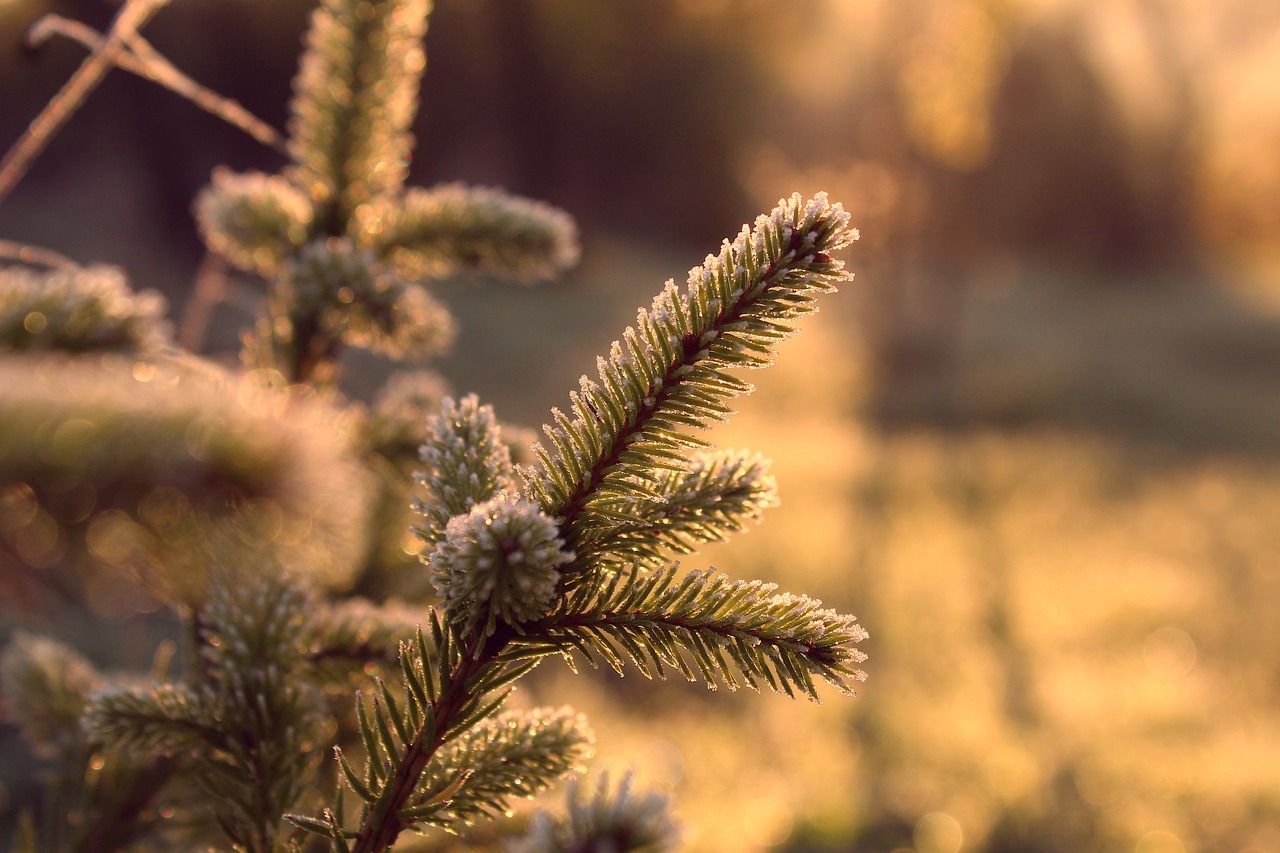
When it comes to capturing the perfect travel shots during golden hour, selecting the right location plays a crucial role in the outcome of your photographs. Imagine a serene beach with the sun setting in the background, casting a warm glow over the waves, or a majestic mountain peak illuminated by the soft light of sunrise. These are the moments that can truly elevate your travel shots to a whole new level.
Consider the type of scenery you want to capture. Are you drawn to expansive landscapes, bustling cityscapes, or iconic landmarks? Each location offers its own unique opportunities during golden hour. For landscapes, look for open spaces with interesting elements like rolling hills, forests, or bodies of water that can reflect the golden light. Cityscapes, on the other hand, come alive with the warm hues of sunrise or sunset, casting a magical glow over buildings and streets.
Iconic landmarks can also make for stunning travel shots during golden hour. Whether it's a famous bridge, monument, or historic site, these locations take on a whole new character when bathed in the soft, golden light. Consider the angle of the sun and how it will interact with the landmark to create dynamic and captivating compositions.
Additionally, think about the direction of light and how it will enhance your subject. The warm, directional light during golden hour can add depth, texture, and dimension to your photographs, creating a sense of mood and atmosphere. Experiment with different angles and perspectives to make the most of the golden light and create visually compelling travel shots.
Utilizing the Golden Light
When it comes to photography, utilizing the golden light during the golden hour can truly elevate your travel shots to a whole new level. The warm, soft light during this magical time of day adds a touch of enchantment and beauty to your photographs, creating a captivating atmosphere that draws viewers in.
To make the most of the golden light, it's essential to understand how it interacts with your subjects. The angle and quality of light during golden hour can dramatically impact the mood and tone of your photos. Experiment with different angles and positions to see how the light enhances textures, colors, and shapes in your travel shots.
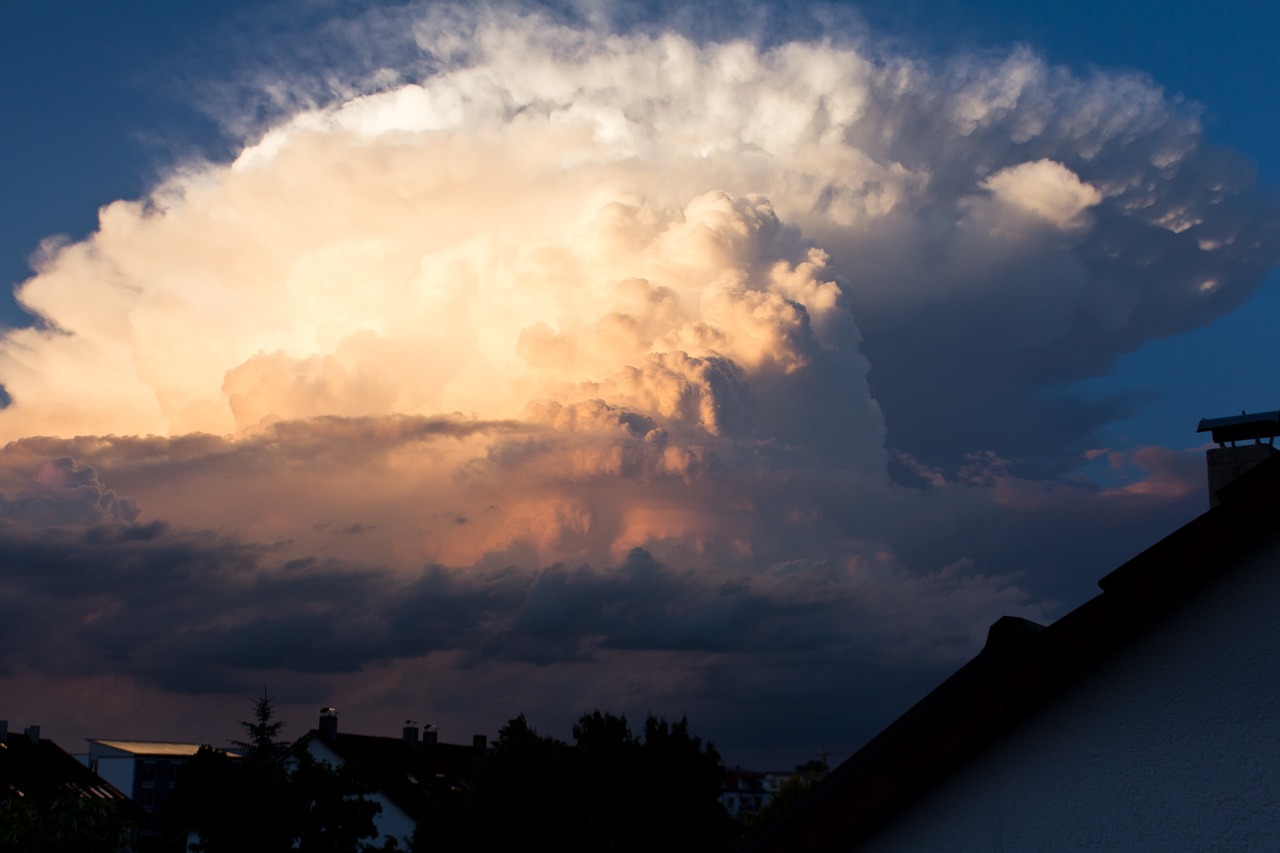
One effective way to utilize the golden light is to use it to create stunning silhouettes. Position your subject against the bright, glowing sky during sunset or sunrise to capture striking silhouettes that convey a sense of mystery and drama. Silhouettes can add depth and interest to your travel photos, making them more dynamic and visually appealing.
Additionally, consider incorporating backlighting into your compositions during golden hour. Backlighting can create a beautiful halo effect around your subjects, emphasizing their contours and adding a magical glow to your images. Experiment with different angles and positions to find the perfect balance of light and shadow for your travel shots.
Don't be afraid to play with shadows during golden hour. Shadows can add depth, contrast, and visual interest to your photographs, creating captivating patterns and shapes that enhance the overall composition. Use the long, soft shadows cast by the golden light to create a sense of depth and dimension in your travel shots.
Overall, mastering the art of utilizing the golden light during the golden hour is essential for capturing stunning travel photographs. By understanding how light interacts with your subjects, experimenting with silhouettes and shadows, and incorporating backlighting into your compositions, you can create mesmerizing images that truly capture the magic of this special time of day.
Composition Techniques
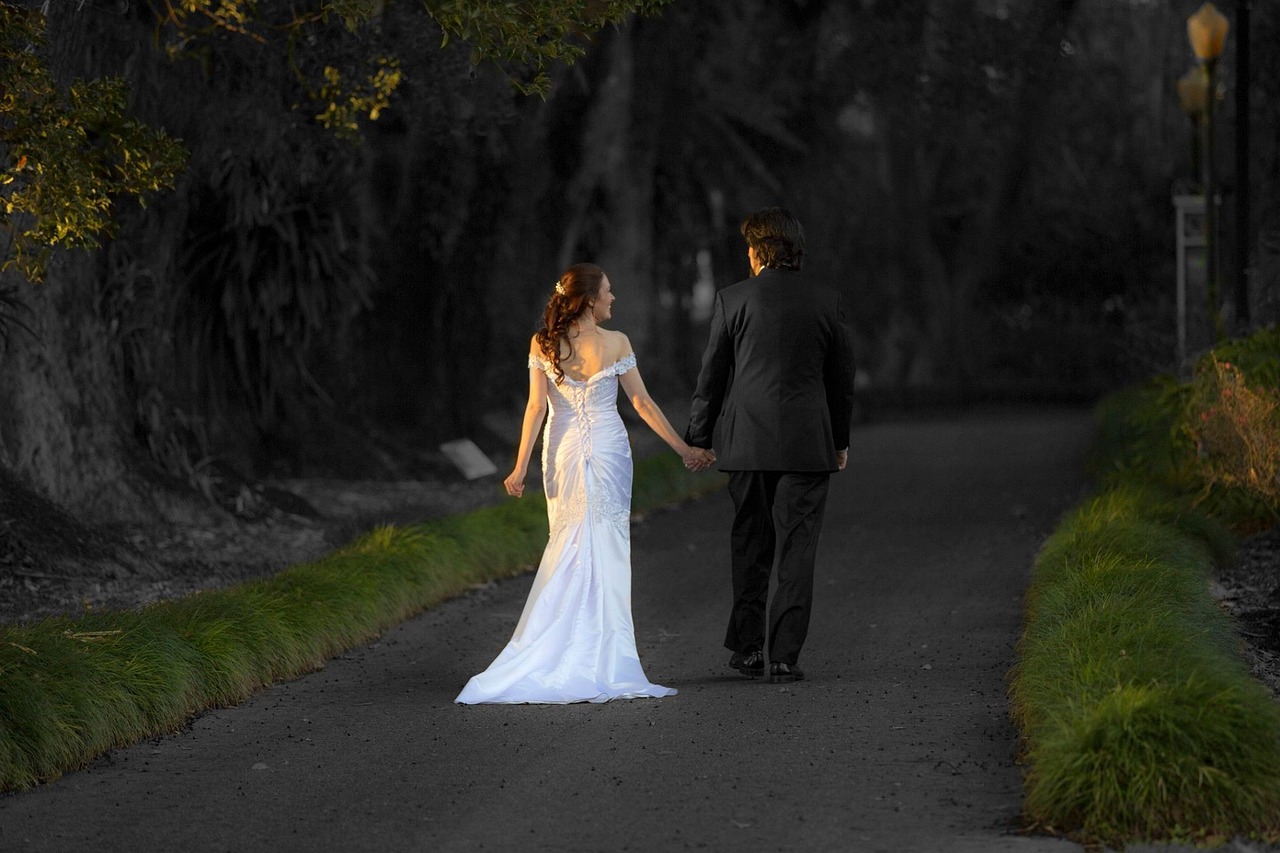
When it comes to capturing stunning travel shots during the golden hour, mastering composition techniques is key to creating visually appealing and captivating images. One of the fundamental principles to keep in mind is the rule of thirds, a guideline that divides your frame into nine equal parts using two horizontal and two vertical lines. By placing your main subject along these lines or at their intersections, you can achieve a more balanced and engaging composition. Additionally, incorporating leading lines into your travel shots can draw the viewer's eye into the scene, creating a sense of depth and guiding them through the image.
Another effective composition technique to consider is framing, where you use elements within the scene to frame your subject and draw attention to it. This can add context and interest to your travel photographs, providing a unique perspective that enhances the overall storytelling of the image. Experimenting with different angles and perspectives can also help you discover creative compositions that elevate your golden hour shots.
Moreover, playing with symmetry and asymmetry in your compositions can create visual interest and balance in your travel photos. Symmetrical compositions can convey a sense of harmony and stability, while asymmetrical compositions can add a dynamic and unexpected element to your images. By understanding and applying these composition techniques during the golden hour, you can elevate your travel photography and capture truly mesmerizing moments.

Using Filters and Lenses
When it comes to capturing the perfect travel shots during golden hour, utilizing filters and lenses can make a significant difference in the quality of your photographs. Filters such as polarizers can help reduce glare and enhance the colors of the sky and landscape, giving your images a more vibrant and dynamic look. Additionally, using specific lenses like wide-angle lenses can allow you to capture more of the stunning golden light and expansive scenery during this magical time of day.

Editing Tips for Golden Hour Shots
Golden hour is a magical time for photography, especially when traveling. Learn how to capture stunning travel shots during this time of day, from choosing the right location to adjusting your camera settings.
When it comes to editing your golden hour travel shots, there are several tips and techniques to enhance the beauty of your photographs. One essential aspect to focus on is adjusting the exposure levels. During golden hour, the light can be soft and warm, but it may also result in underexposed or overexposed images. By fine-tuning the exposure settings, you can bring out the details and colors in your photos.
Another crucial editing tip is to pay attention to the white balance. Golden hour light can cast a warm tone on your images, which can be visually appealing. However, it's essential to ensure that the white balance is adjusted correctly to maintain the natural colors in your photographs. Experiment with different white balance settings to find the perfect balance for your golden hour shots.
To further enhance the golden glow in your travel photos, consider adding warmth to your images during the editing process. Adjusting the temperature and tint settings can intensify the golden hues and create a more captivating atmosphere in your photographs. However, be careful not to overdo it, as subtlety is key in achieving a natural and pleasing look.
Additionally, don't hesitate to make selective edits to specific areas of your golden hour shots. Use tools like graduated filters or adjustment brushes to highlight certain elements in the frame or to darken distracting areas. By selectively enhancing the light and shadows in your photographs, you can create a more dynamic and visually engaging composition.
Lastly, consider the overall mood and storytelling of your golden hour shots during the editing process. Experiment with different editing styles and effects to convey the emotions and atmosphere you experienced during your travels. Whether you prefer a vibrant and colorful look or a more subdued and moody aesthetic, editing plays a crucial role in bringing your golden hour travel shots to life.
Stay tuned for the frequently asked questions section coming soon!

Capturing Golden Hour Portraits
When it comes to capturing golden hour portraits during your travels, the key is to embrace the warm, soft light that enhances the beauty of your subjects. Imagine the sun setting or rising, casting a golden glow that adds a magical touch to your photographs. This is the perfect time to create stunning portraits that capture the essence of your journey.
One important tip for capturing golden hour portraits is to position your subjects in such a way that they are bathed in the golden light. This can create a flattering and ethereal effect, adding a touch of warmth and glow to the images. Experiment with different angles and compositions to make the most of this enchanting light.
Another aspect to consider when taking golden hour portraits is the background. Choose a backdrop that complements the warm tones of the golden hour light, whether it's a picturesque landscape, a charming street, or an iconic landmark. The combination of the soft light and a captivating background can elevate your portraits to a whole new level.
Don't be afraid to play with shadows and silhouettes during golden hour portraits. These elements can add depth and drama to your images, creating a sense of mystery and intrigue. Experiment with positioning your subjects against the light to create striking silhouettes that tell a story and evoke emotions.
Remember, golden hour is a magical time for photography, and capturing portraits during this period can result in truly captivating images. Whether you're photographing a loved one, a fellow traveler, or a local resident, embrace the golden light and let it work its wonders on your portraits.
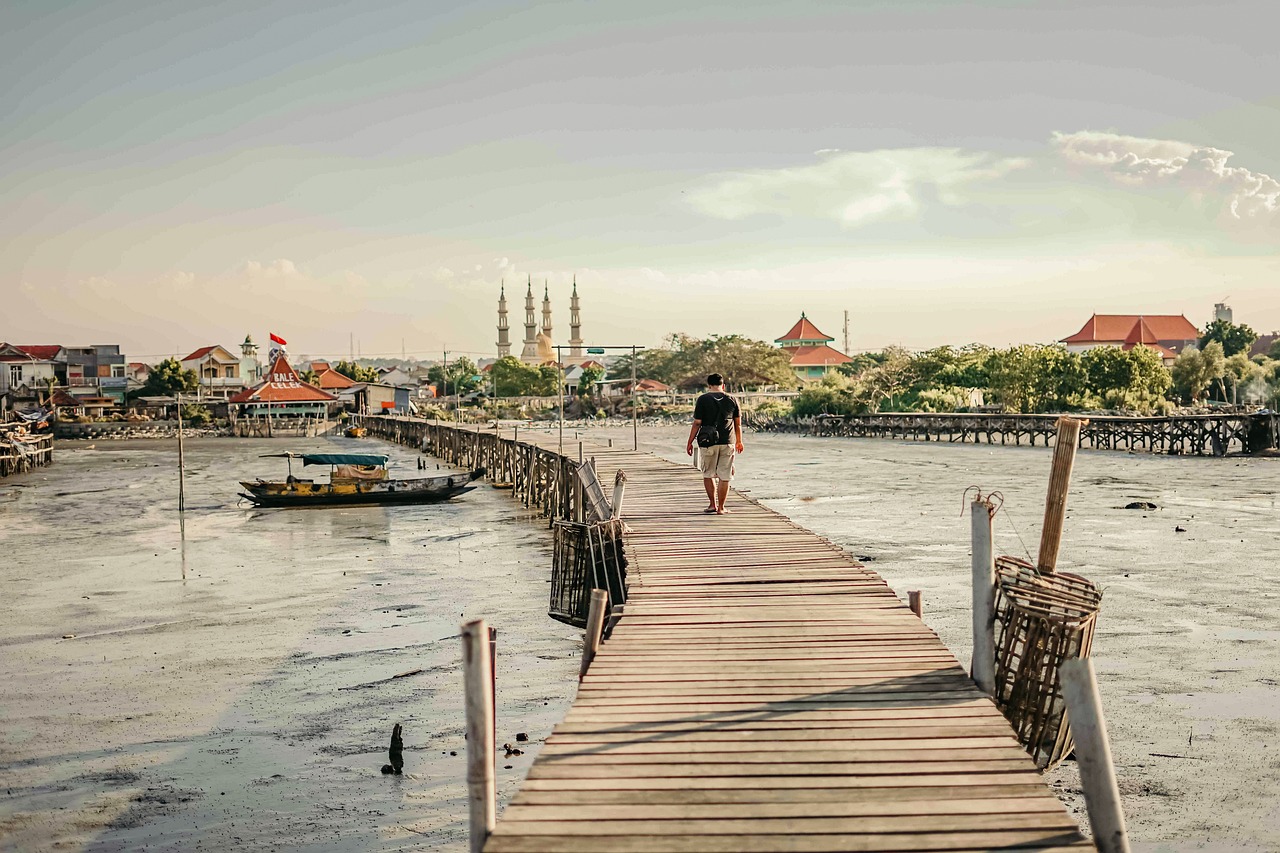
Experimenting with Silhouettes and Shadows
Experimenting with silhouettes and shadows during golden hour can truly elevate your travel photography to another level. As the sun begins to set or rise, the long shadows and striking silhouettes can add a sense of drama and mystery to your shots, creating visually captivating images that tell a story.
One technique to experiment with is capturing silhouettes against the golden sky. By positioning your subject in front of the sun, you can create a dark outline against the vibrant colors of the sky, emphasizing the shape and form of the subject without needing intricate details.
Playing with shadows is another way to add depth and interest to your travel shots during golden hour. Shadows can create dynamic patterns and textures, adding a layer of complexity to your composition. Look for interesting shapes and angles where shadows fall, and use them to create contrast and intrigue in your photographs.
Additionally, incorporating silhouettes and shadows can help convey a sense of scale and perspective in your travel images. By juxtaposing the dark silhouettes or shadows with elements in the foreground or background, you can create a sense of depth and dimension, making your photos more engaging and immersive.
Remember, golden hour is not just about capturing the light but also about playing with shadows and silhouettes to create visually stunning and emotionally evocative travel photographs. So, don't be afraid to experiment and push the boundaries of your creativity during this magical time of day.
Frequently Asked Questions
- What is golden hour in photography?
Golden hour in photography refers to the period shortly after sunrise or before sunset when the light is soft, warm, and ideal for capturing stunning images. It provides a magical quality to photos due to the angle of the sun, creating a beautiful golden glow.
- How can I make the most of golden hour for travel photography?
To make the most of golden hour for travel photography, choose the right location with interesting elements, utilize the golden light to enhance your shots, master composition techniques, experiment with silhouettes and shadows, and consider using filters and specific lenses to enhance the golden hour effect in your images.
- What camera settings are recommended during golden hour?
During golden hour, it is recommended to use a lower ISO to reduce noise, a wide aperture for a shallow depth of field, and a slower shutter speed to capture the soft, warm light. Adjusting the white balance to a warmer tone can also enhance the golden hour effect in your photographs.
- How important is editing in golden hour photography?
Editing plays a crucial role in enhancing golden hour photography. Adjusting exposure, white balance, contrast, and adding warmth to your images can further bring out the golden tones and create a more captivating visual impact in your travel shots.
- Can I capture portraits during golden hour?
Absolutely! Golden hour provides a flattering and warm light for portraits. To capture stunning golden hour portraits while traveling, focus on posing your subjects, framing them against the golden light, and utilizing the soft, warm glow to create a magical atmosphere in your photos.


