How to Master Night Photography While Traveling
Mastering night photography while traveling can truly elevate your photography skills to the next level. The challenge of capturing stunning night photos in different locations can be both thrilling and rewarding. Whether you are exploring the neon-lit streets of a bustling city or gazing at the starry night sky in a remote location, night photography opens up a world of creative possibilities.
When embarking on a journey to master night photography while traveling, the first step is to ensure you have the right equipment at your disposal. Choosing a camera with excellent low-light capabilities, along with suitable lenses and accessories, is crucial for capturing high-quality night shots on the go.
Understanding the intricacies of camera settings is essential for achieving clear and vibrant night photographs. Experimenting with aperture, shutter speed, and ISO settings allows you to control the exposure and create visually striking images that capture the essence of the night.
Scouting for locations with unique lighting and compositions is key to creating captivating night photographs during your travels. Whether it's the play of light and shadows in an urban setting or the natural beauty of a starlit landscape, finding the right spots can make all the difference in your night photography.
Utilizing tripods and stabilization techniques is paramount for maximizing image sharpness in low-light conditions. By keeping your camera steady and stable, you can avoid blurry images and ensure that every detail in your night photos is crisp and clear.
For those looking to add a touch of creativity to their night photography, experimenting with light painting techniques can yield spectacular results. By using light sources to paint or draw in the dark, you can create artistic effects that add a unique and magical element to your night shots.
Editing plays a crucial role in enhancing and optimizing your night photos. Post-processing software allows you to fine-tune your images, adjust exposure levels, and bring out the details that may have been missed during the shoot. With the right editing techniques, you can transform your night photos into true works of art.
Challenges such as noise and distortion are common in night photography, especially when capturing images while traveling. Learning how to address these issues effectively can help you overcome obstacles and ensure that your night photos turn out as intended, free from unwanted distractions.
Embracing creativity and uniqueness is the final touch in mastering night photography while traveling. Developing your personal style and vision can set your photos apart and make them truly memorable. Let your imagination soar and experiment with different techniques to create night travel photos that reflect your individuality.
Choosing the Right Equipment
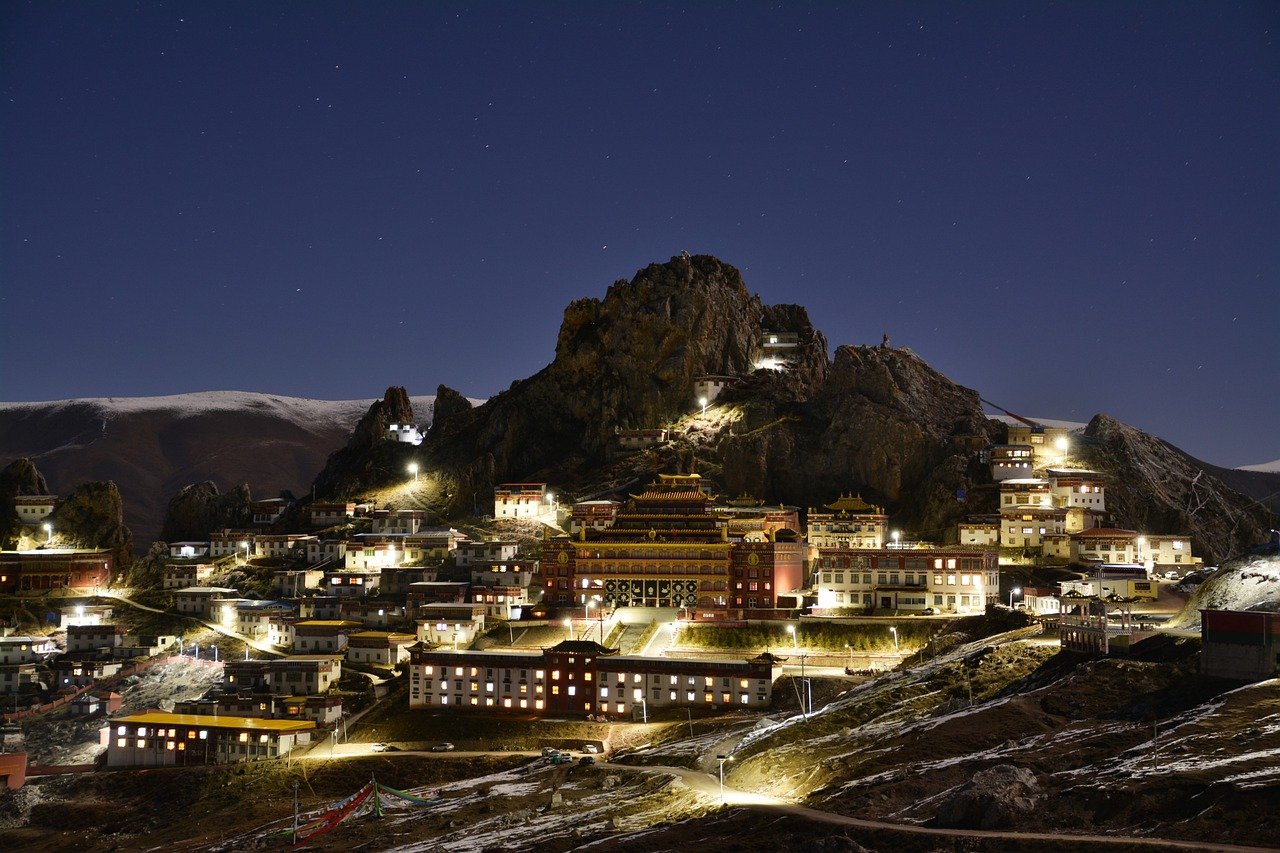
When it comes to mastering night photography while traveling, selecting the right equipment is crucial for capturing stunning shots in low-light conditions. The first step is to choose a camera that performs well in low light. Look for a camera with a larger sensor size and good high ISO performance to reduce noise in your night shots.
Additionally, investing in fast lenses with wide apertures such as f/2.8 or wider can significantly improve your night photography. These lenses allow more light to enter the camera, enabling you to capture brighter and sharper images in the dark.
Moreover, consider carrying accessories like a sturdy tripod to keep your camera stable during long exposures. A remote shutter release can also be handy to prevent camera shake when capturing night scenes. Don't forget to pack extra batteries and memory cards to avoid running out of power or storage space while on the go.
Furthermore, filters can be beneficial for enhancing your night photos. A polarizing filter can reduce glare from artificial lights, while a neutral density filter can help control the amount of light entering the lens, especially in bright urban settings.
Lastly, portability is key when choosing equipment for travel photography. Opt for lightweight and compact gear that won't weigh you down during your adventures. Remember, the best camera is the one you have with you, so prioritize convenience without compromising on quality.
Understanding Camera Settings
Tips and techniques for capturing stunning night photos while on the go
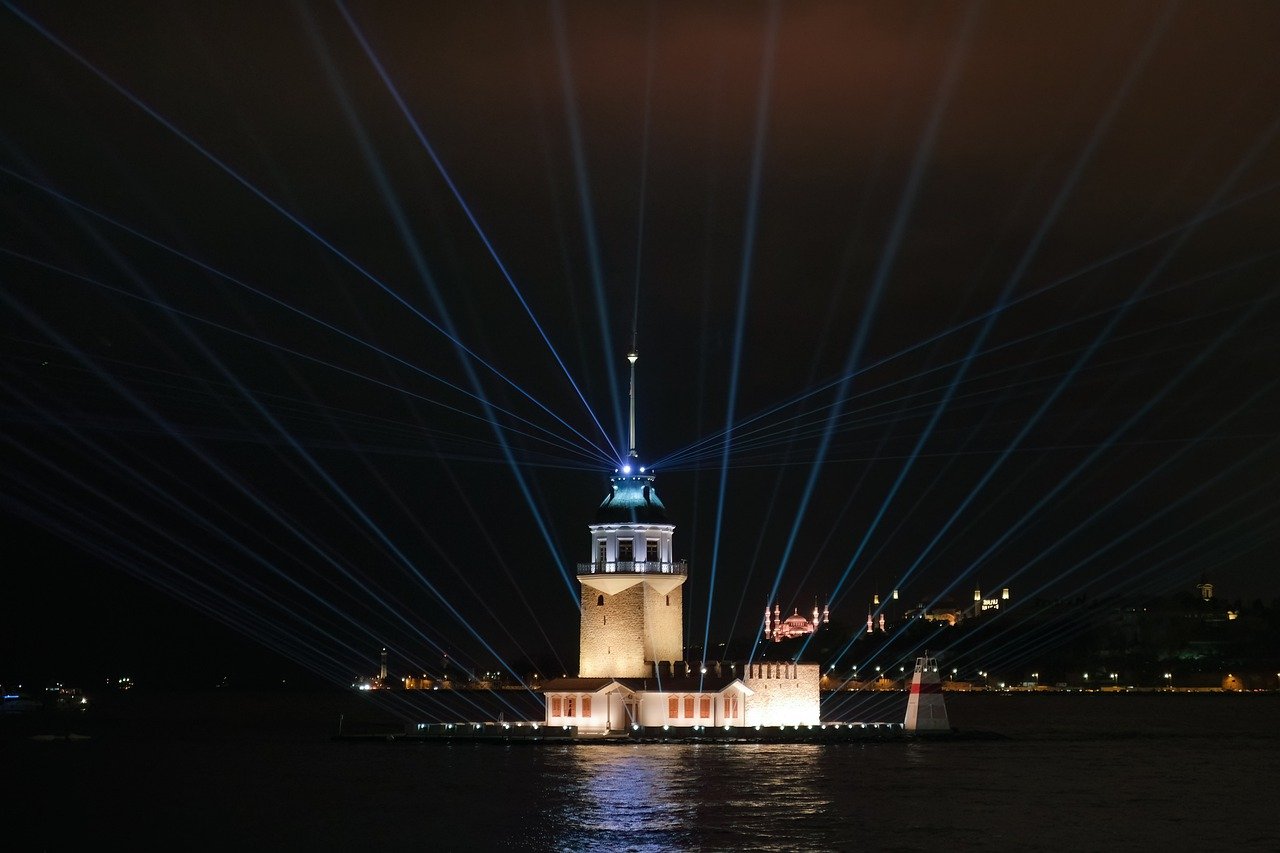
When it comes to mastering night photography while traveling, understanding your camera settings is crucial. The interplay between aperture, shutter speed, and ISO can make or break your night shots. Let's delve into the significance of each setting and how they contribute to capturing clear and vibrant images under low-light conditions.
Aperture, often denoted by an 'f-stop' number, controls the amount of light entering the camera. A wider aperture (smaller f-stop number) allows more light, ideal for night photography to brighten up your shots. However, be mindful of depth of field considerations when adjusting the aperture.
Shutter speed determines how long the camera's shutter remains open to expose the sensor to light. In night photography, slower shutter speeds are commonly used to capture more light, but they can also introduce motion blur. Balancing the shutter speed is essential to avoid blurry images while maintaining proper exposure.
ISO measures the sensor's sensitivity to light. Increasing the ISO can brighten your image, but it may also introduce noise or graininess. Finding the optimal ISO setting for your night shots involves a trade-off between brightness and image quality.
Mastering the interaction between aperture, shutter speed, and ISO empowers you to adapt to various lighting conditions and achieve your desired night photography results. Experimenting with different settings and understanding their effects will enhance your skills in capturing captivating night scenes during your travels.
Scouting Locations
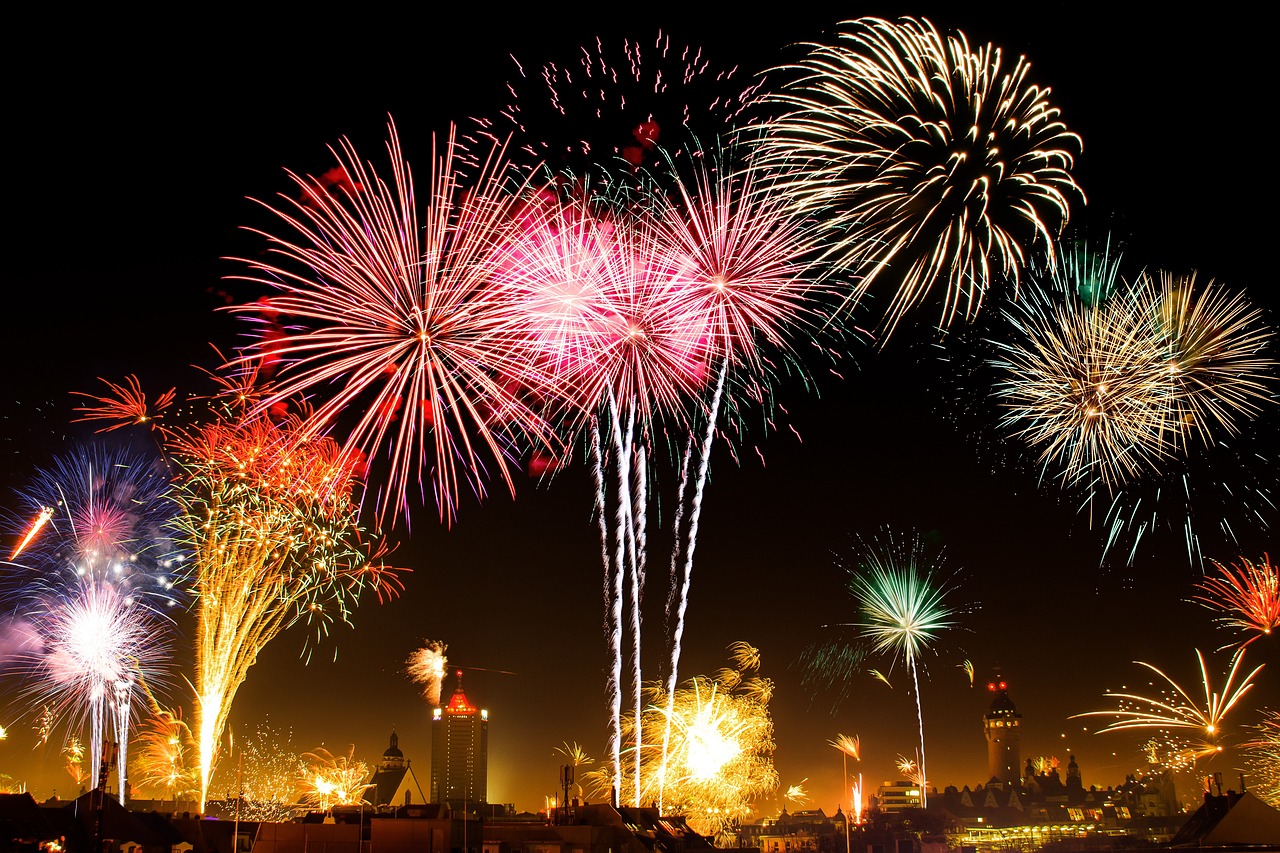
When it comes to capturing stunning night photographs while traveling, scouting the perfect locations is crucial. Imagine yourself as a detective searching for the ideal setting, where light and composition come together in a symphony of visual delight. Just like finding the perfect ingredients for a gourmet dish, scouting locations requires a keen eye for detail and a dash of creativity.
One effective way to scout locations for night photography is to research ahead of time. Use online resources, photography forums, and social media platforms to discover popular spots known for their captivating night scenes. Additionally, don't hesitate to ask locals or fellow photographers for recommendations; they may unveil hidden gems off the beaten path that could elevate your photos to a whole new level.
Furthermore, consider the unique characteristics of the destination you are visiting. Each place has its own story to tell through its architecture, landmarks, and cultural elements. Embrace the challenge of capturing the essence of the location in your night photos by incorporating these elements into your compositions.
Moreover, pay attention to the lighting conditions of the locations you scout. Different light sources, such as street lamps, neon signs, or moonlight, can create diverse moods and atmospheres in your photographs. Experiment with different angles and perspectives to make the most of the available light and enhance the visual impact of your images.
Remember, scouting locations for night photography is not just about finding a place with good lighting; it's about creating a narrative through your photos. Each location has a story to tell, and as a photographer, it's your mission to capture that story in a single frame. So, grab your camera, explore the streets, and let your creativity guide you to the perfect spot for your next captivating night shot.
Utilizing Tripods and Stabilization
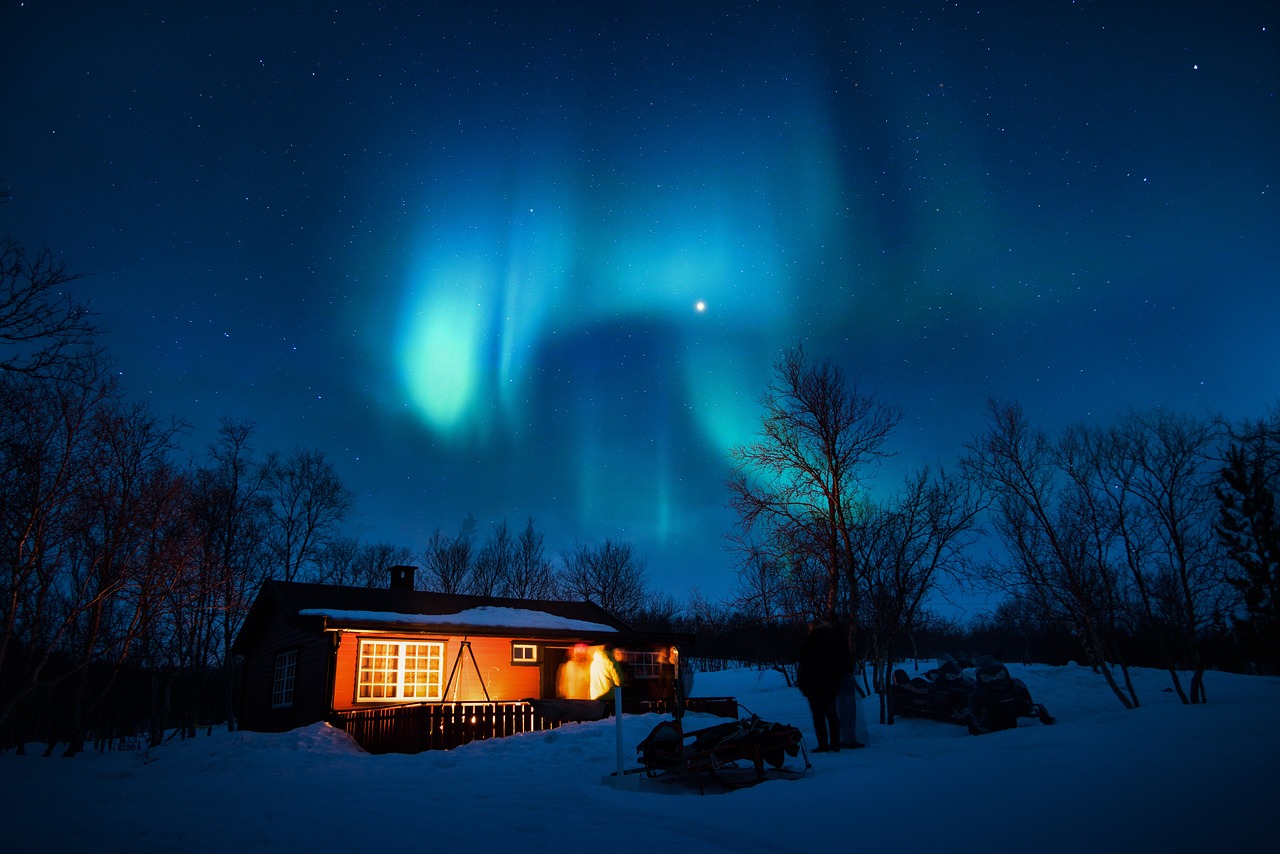
When it comes to mastering night photography while traveling, one essential aspect to consider is utilizing tripods and stabilization techniques. These tools play a crucial role in ensuring the sharpness and clarity of your images, especially in low-light conditions. By stabilizing your camera properly, you can capture stunning night shots with minimal blur and maximum detail.
Using a tripod is highly recommended for night photography as it provides a stable base for your camera, preventing unwanted camera shake that can result in blurry photos. Additionally, tripods allow you to use slower shutter speeds without compromising image quality, enabling you to capture the beauty of the night scene with precision.
When selecting a tripod for your travel photography needs, consider factors such as portability, stability, and weight. Opt for a lightweight yet sturdy tripod that is easy to carry during your travels while still offering the necessary support for your camera equipment.
In addition to tripods, other stabilization techniques such as using a remote shutter release or a cable release can further minimize camera shake and enhance the sharpness of your night photos. These tools help you avoid touching the camera directly, reducing the risk of introducing vibrations that could affect the image quality.
Experimenting with different stabilization methods can also open up new creative possibilities in your night photography. By combining tripod use with techniques like bracing your camera against a stable surface or using your body as a support, you can achieve unique angles and perspectives that add depth and interest to your images.
Remember, investing in quality stabilization equipment is an investment in the overall quality of your night travel photos. By mastering the art of utilizing tripods and stabilization techniques effectively, you can elevate your photography skills and capture breathtaking night scenes with ease.
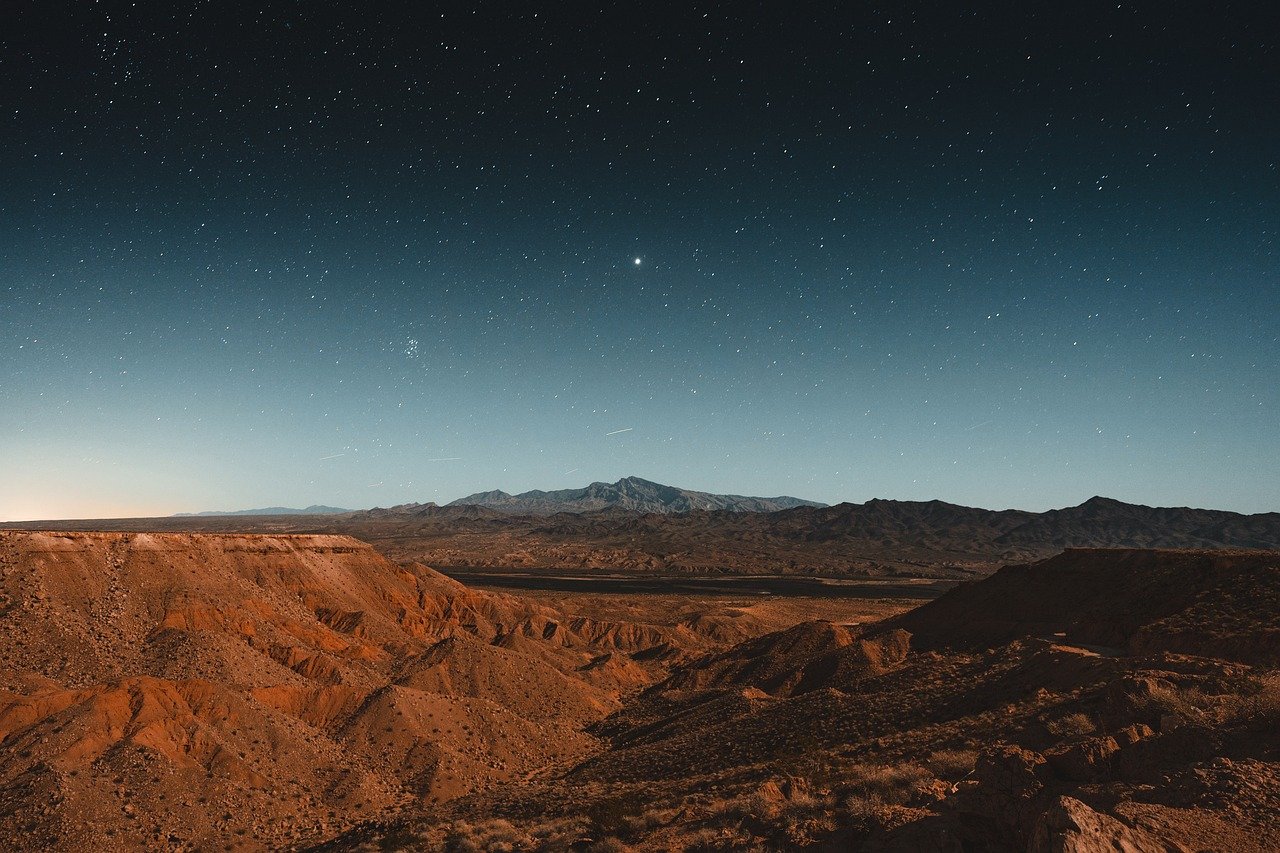
Experimenting with Light Painting
Are you ready to take your night photography to the next level? Experimenting with light painting can add a touch of magic and creativity to your travel photos. By incorporating this technique, you can create stunning visual effects that will make your images truly unique and captivating.
Light painting involves using sources of light, such as flashlights or LED lights, to illuminate specific areas of your scene during a long exposure. This allows you to "paint" with light and add dynamic elements to your photographs. Whether you want to highlight certain details, create light trails, or add a mystical glow to your images, light painting offers endless possibilities for artistic expression.
To get started with light painting, set up your camera on a tripod and choose a dark location with minimal ambient light. Select a long exposure setting to give yourself enough time to paint with light during the shot. Experiment with different light sources, movements, and techniques to achieve the desired effects.
One popular method is to use a flashlight to selectively illuminate parts of your scene while keeping the rest of the frame in darkness. This can create a dramatic contrast and draw attention to specific elements within the composition. You can also try moving the light source during the exposure to create dynamic patterns or shapes in your photos.
Additionally, consider incorporating colored gels or filters over your light source to add a creative twist to your light painting. By playing with colors and textures, you can infuse your images with a sense of mood and atmosphere that goes beyond traditional photography.
Remember, light painting is all about experimentation and creativity. Don't be afraid to try new ideas and techniques to see what works best for your vision. Embrace the unpredictable nature of light painting and let your imagination guide you to create truly unique and captivating night travel photos.
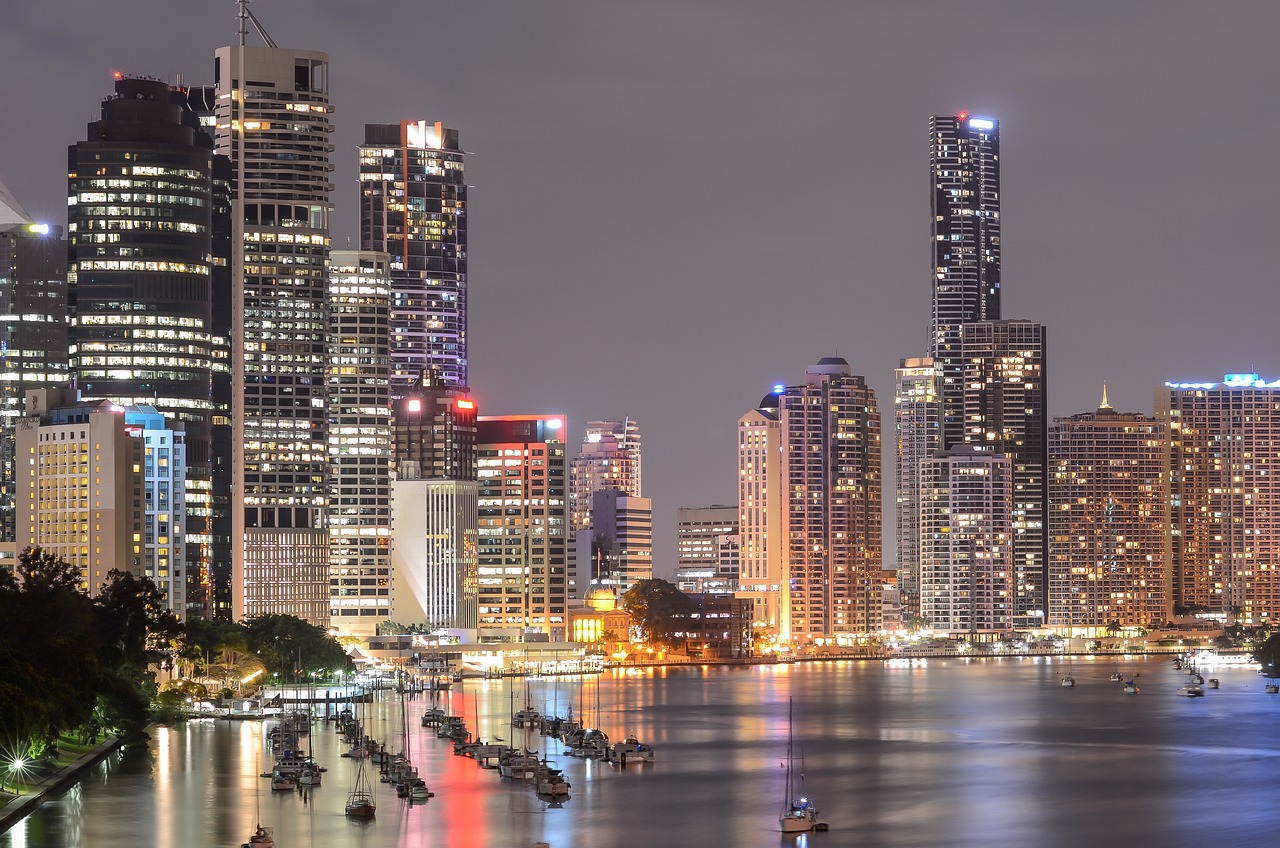
Editing Night Photos
When it comes to night photography, the editing process plays a crucial role in bringing out the best in your captured images. Editing night photos allows you to enhance the colors, adjust the exposure, and fine-tune the overall look to achieve the desired results.
One of the key aspects of editing night photos is managing the levels of brightness and contrast. Balancing these elements can significantly impact the mood and atmosphere of your night shots. By adjusting the contrast, you can make the details in your photos pop, creating a more dynamic and engaging visual experience.
Furthermore, color correction is essential when editing night photos. The artificial lighting present in night scenes can sometimes cast unwanted color casts on your images. By fine-tuning the white balance and adjusting the colors, you can ensure that your night photos appear natural and visually appealing.
Another important aspect to consider when editing night photos is reducing noise. Noise often becomes more prominent in low-light conditions, leading to grainy and less sharp images. Utilizing noise reduction tools in post-processing software can help you achieve cleaner and more professional-looking night photos.
Moreover, experimenting with different editing techniques such as adding vignettes, adjusting highlights and shadows, and applying creative filters can further enhance the mood and storytelling elements of your night photos. Editing allows you to unleash your creativity and transform ordinary night shots into extraordinary visual masterpieces.
In conclusion, mastering the art of editing night photos is essential for elevating the quality of your travel photography. By carefully editing your night shots, you can bring out the hidden beauty of nighttime scenes and create captivating images that leave a lasting impression on viewers.
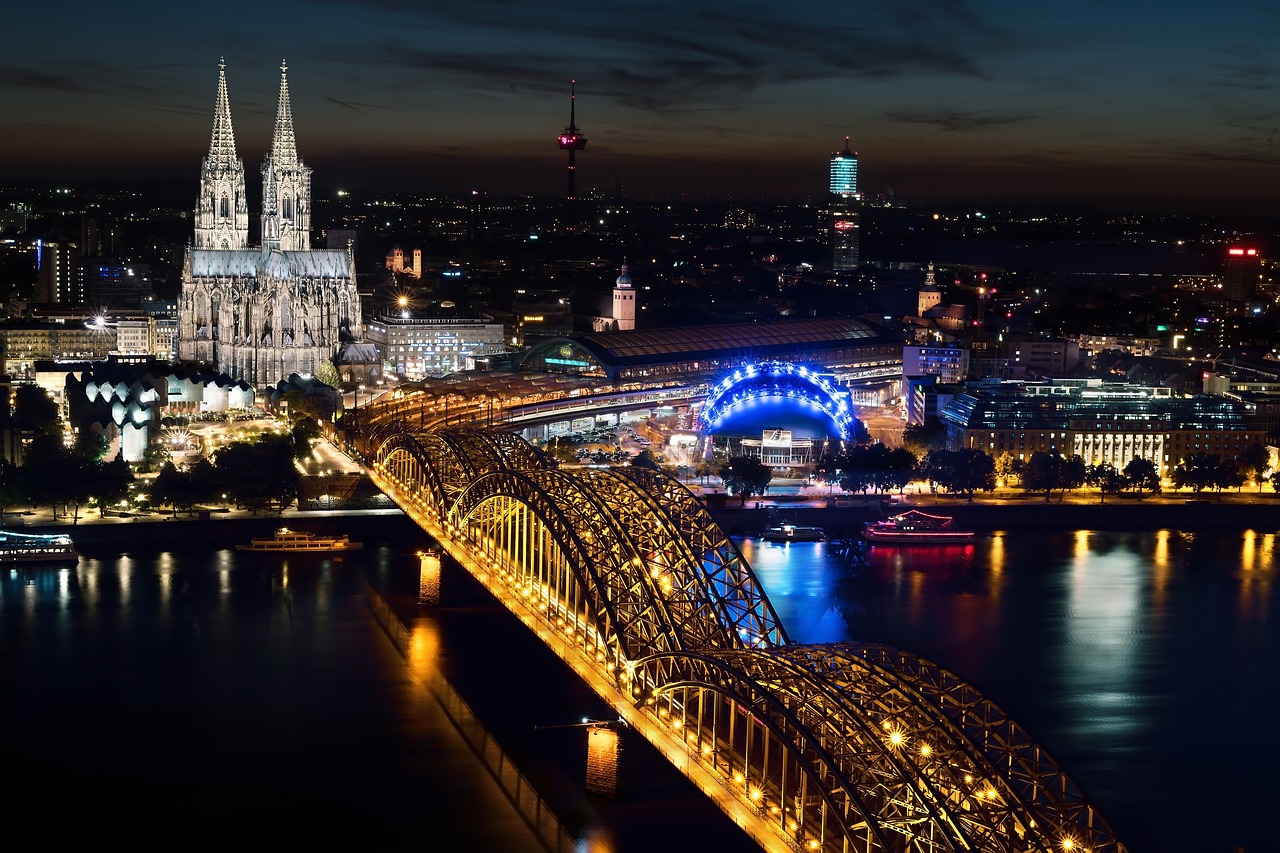
Dealing with Noise and Distortion
When it comes to night photography, dealing with noise and distortion can be a common challenge that photographers face, especially when capturing images while traveling. Noise, which appears as grainy or speckled textures in photos, can detract from the overall quality of the image. Distortion, on the other hand, can cause straight lines to appear curved or skewed, affecting the composition of the photograph. Understanding how to address these issues is crucial in producing high-quality night photos that truly shine.
One effective way to combat noise in night photography is by adjusting the camera's ISO setting. While a higher ISO can make the camera more sensitive to light, it can also introduce more noise. Finding the right balance between ISO and exposure time is key to minimizing noise while maintaining image clarity. Additionally, utilizing noise reduction tools in post-processing software can help further reduce noise without compromising image detail.
Distortion, often caused by wide-angle lenses or improper camera positioning, can be corrected through software tools like lens correction filters. These filters can help straighten lines and correct perspective distortion, ensuring that buildings and other architectural elements appear true to form in the final image. Taking care to compose the shot properly and avoid extreme angles can also help minimize distortion in night photos.
When capturing night scenes with artificial lighting, such as cityscapes or street scenes, be mindful of light sources that may contribute to lens flare or unwanted reflections. Adjusting the angle of the camera or using a lens hood can help reduce these issues and improve the overall clarity of the image. Experimenting with different compositions and shooting angles can also help minimize distortion and enhance the visual impact of your night photographs.
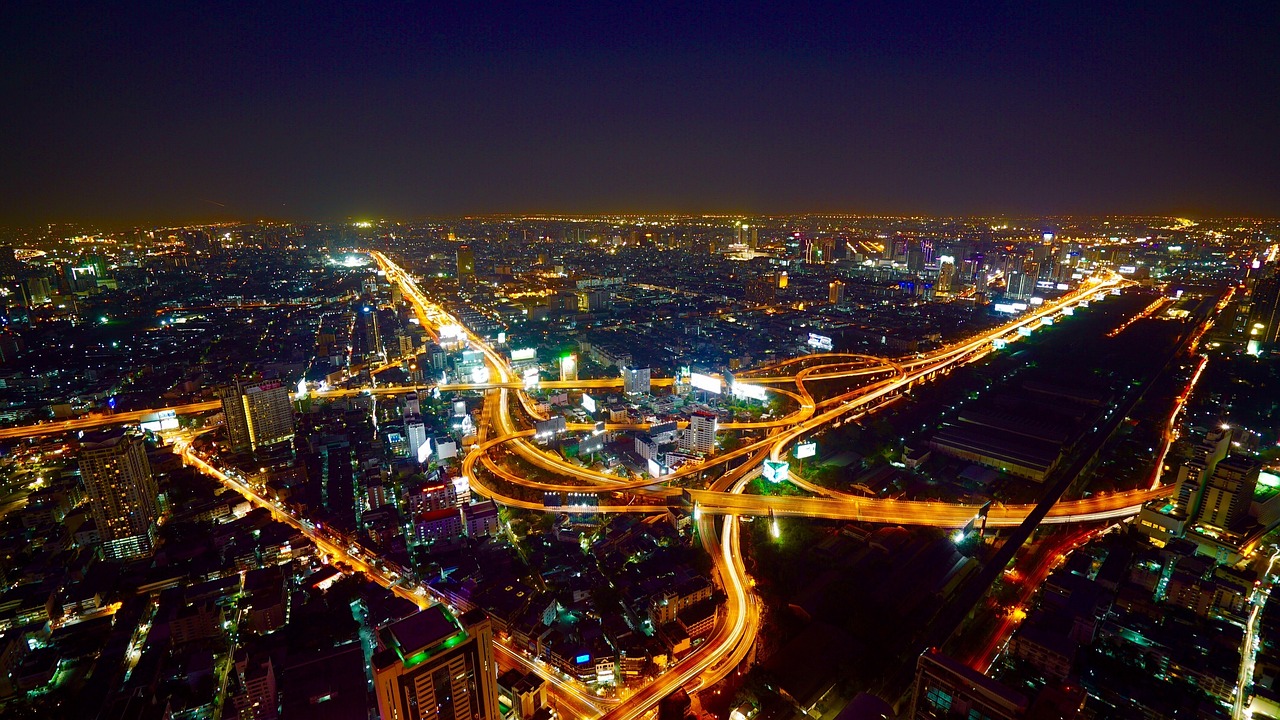
Embracing Creativity and Uniqueness
When it comes to night photography while traveling, embracing creativity and uniqueness can truly set your photos apart. Think of your camera as a paintbrush and the night sky as your canvas. How can you paint a masterpiece that reflects your personal style and vision?
Experiment with different angles, perspectives, and compositions to infuse your photos with creativity. Play with light and shadows to create a captivating contrast that draws the viewer's eye. Remember, there are no strict rules in art - let your imagination run wild!
Consider incorporating elements of the environment into your night shots to add a unique touch. Whether it's capturing the local culture, architecture, or natural landscapes, integrating these elements can give your photos a sense of place and storytelling.
Don't be afraid to push the boundaries of traditional night photography techniques. Try long exposures, light trails, or even experimental editing styles to bring a fresh perspective to your images. The beauty of creativity lies in its unpredictability and willingness to explore the unknown.
Furthermore, developing a personal style is essential in standing out as a night travel photographer. Find what inspires you, whether it's vibrant city lights, serene starry skies, or mystical urban landscapes, and let that inspiration guide your photographic journey.
Remember, creativity knows no bounds, and the more you embrace it, the more your night travel photos will shine with individuality and flair. Let your unique vision illuminate the darkness and leave a lasting impression on those who view your work.
Frequently Asked Questions
- What camera settings are ideal for night photography while traveling?
For night photography while traveling, it is essential to adjust your camera settings to suit low-light conditions. You should consider using a wide aperture to let in more light, a slower shutter speed to capture the night scene without blur, and a higher ISO to increase the camera's sensitivity to light. Experimenting with these settings will help you achieve clear and vibrant night shots.
- How can I reduce noise and distortion in my night travel photos?
To minimize noise and distortion in your night photos taken while traveling, you can try shooting in RAW format to retain more image data for post-processing. Additionally, using noise reduction tools in editing software can help smoothen out any graininess in the images. It's also beneficial to avoid using extremely high ISO settings unless necessary, as they can introduce more noise.
- Why is scouting locations important for night photography during travel?
Scouting locations is crucial for night photography while traveling because it allows you to find interesting spots with unique lighting and compositions. By exploring different areas beforehand, you can plan your shots, anticipate lighting conditions, and ensure you capture captivating night scenes. This preparation enhances the quality and creativity of your travel photos.


