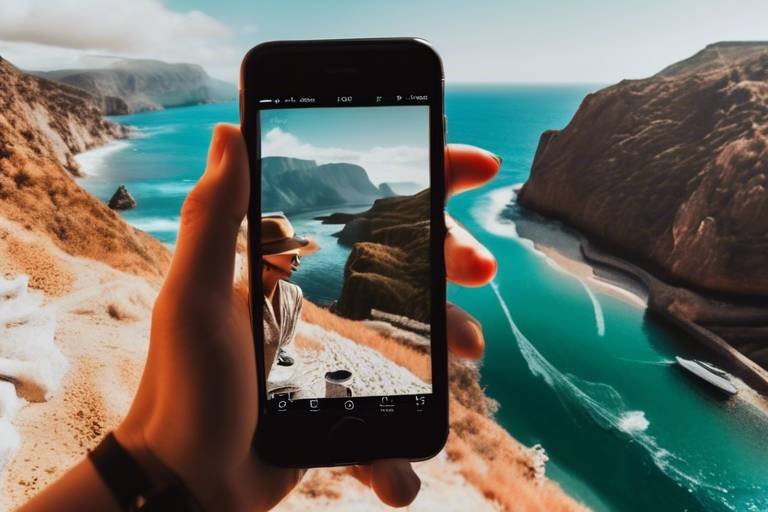
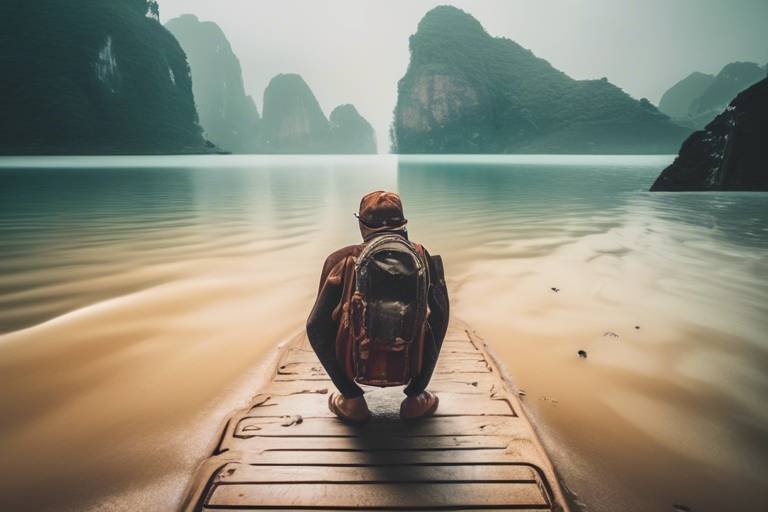
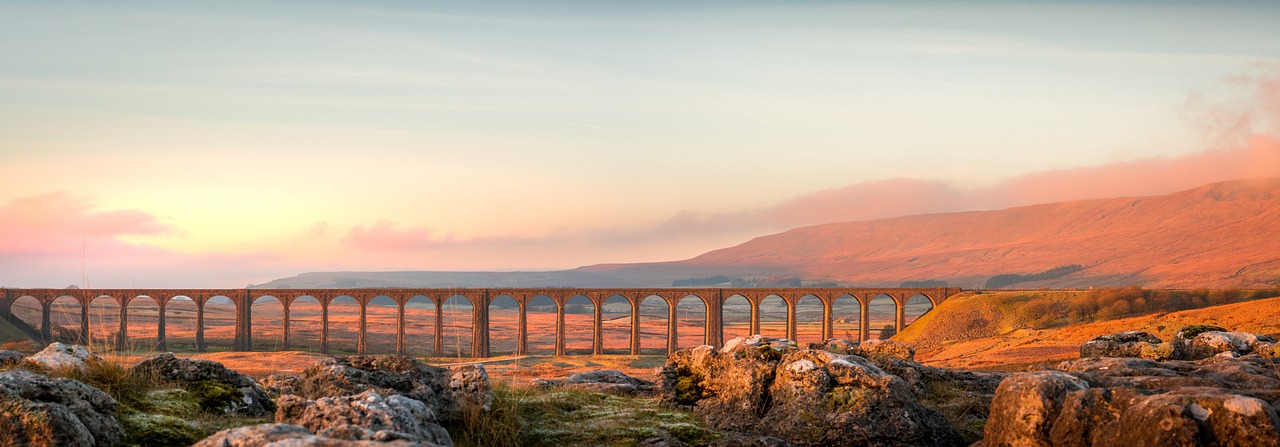
Essential Camera Settings for Travel Photography
When it comes to capturing stunning travel photos, mastering essential camera settings is key to elevating your photography skills to new heights. Understanding how to manipulate settings such as aperture, shutter speed, ISO, and white balance can make a significant difference in the quality of your travel images. These settings play a crucial role in determining the overall look and feel of your photographs, allowing you to create captivating visuals that truly capture the essence of your travel experiences.
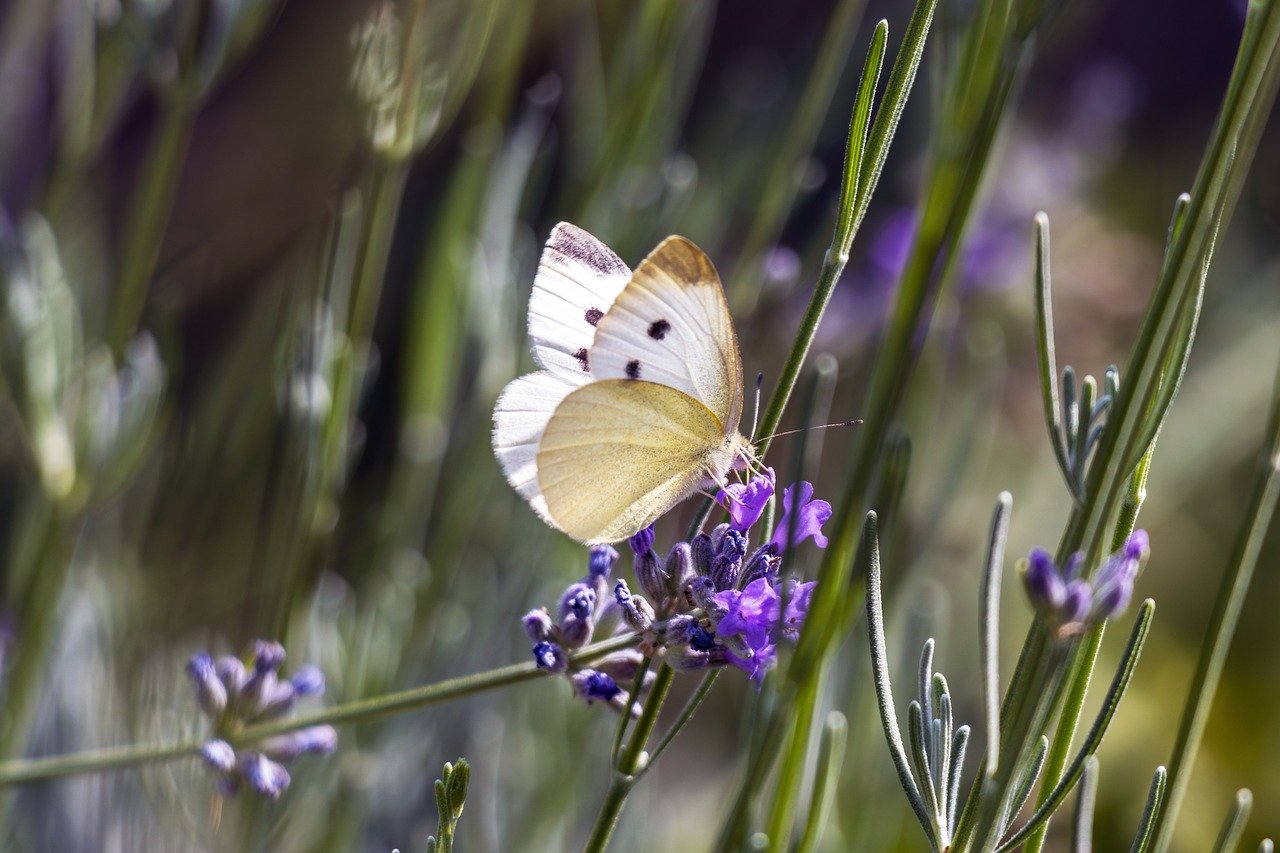
One of the fundamental camera settings to grasp is aperture, which controls the amount of light entering the lens and impacts the depth of field in your photos. By adjusting the aperture, you can achieve sharp subject focus with a beautifully blurred background, adding a sense of depth and dimension to your travel images. This technique is particularly effective for isolating subjects and creating visually appealing compositions that draw the viewer's eye.
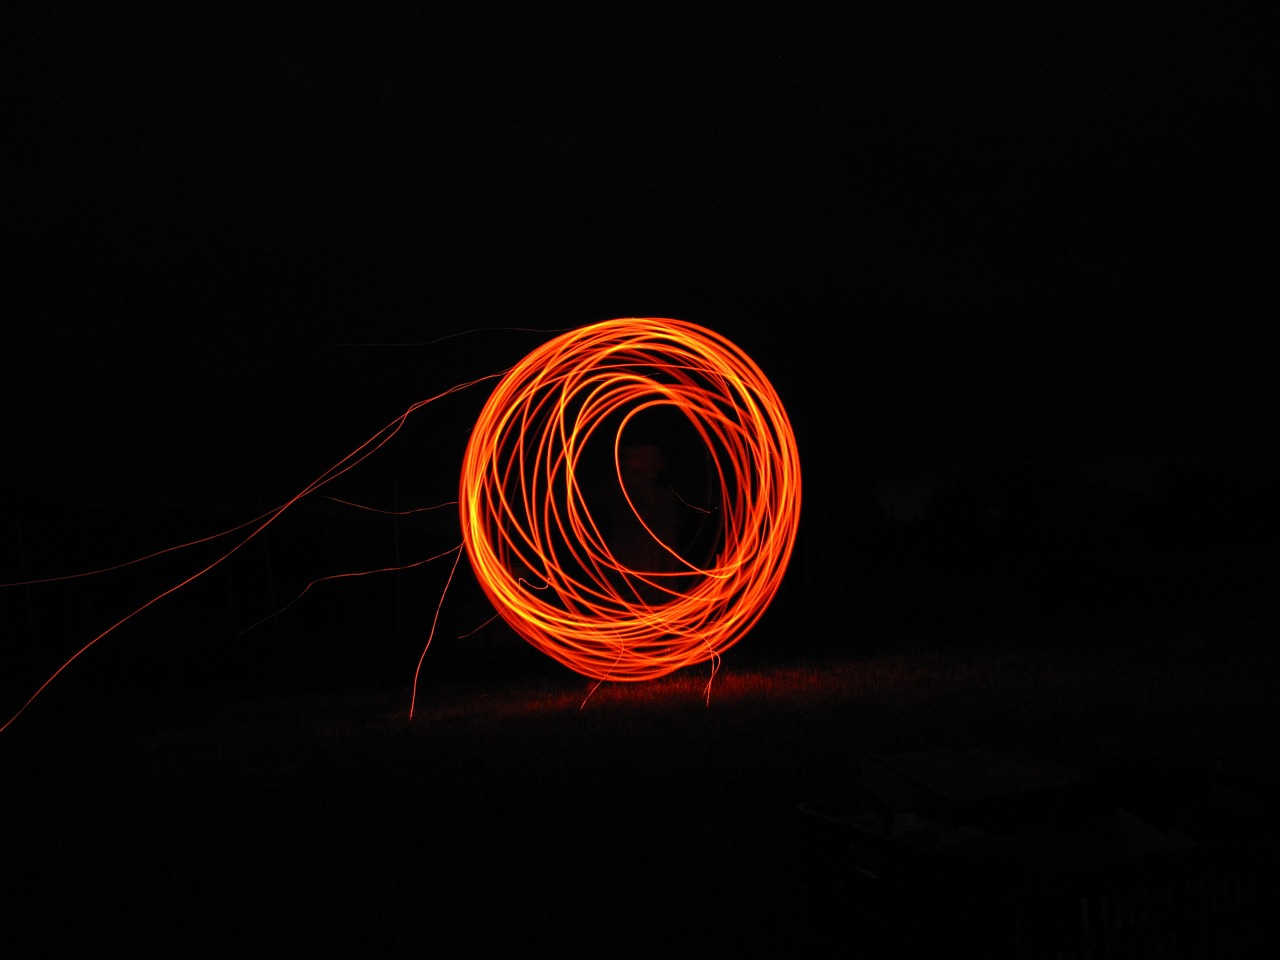
Another vital setting to master is shutter speed, which dictates how long the camera's shutter remains open. This setting is crucial for freezing fast-moving subjects or creating artistic motion blur effects in your travel photography. By experimenting with different shutter speeds, you can capture dynamic action shots or serene landscapes with precision and creativity.
ISO is another key setting that influences the camera's sensitivity to light. By optimizing the ISO settings, you can achieve well-exposed photos in various lighting conditions, from bright daylight to low-light environments. Balancing the ISO level ensures that your travel images are clear, detailed, and free from unwanted noise or graininess.
White balance is essential for preserving the accurate colors of your travel photos, as it adjusts the color temperature of the image based on the lighting conditions. By selecting the appropriate white balance setting or making manual adjustments, you can ensure that your photos reflect the true colors of the scene, whether you're shooting under natural light or artificial lighting.
When it comes to focusing techniques, choosing the right focus mode is crucial for achieving sharp and well-defined images. Whether you opt for single-point autofocus, continuous autofocus, or manual focus, selecting the appropriate focusing mode for each shooting scenario can make a significant difference in the clarity and precision of your travel photographs.
Exposure compensation is a valuable tool for fine-tuning the brightness of your travel photos, allowing you to adjust exposure settings to correct overexposed or underexposed images. By utilizing exposure compensation, you can ensure that your photos are perfectly exposed, capturing the details and nuances of each scene accurately.
For creative effects and enhancements, consider utilizing filters in your travel photography. From polarizing filters that enhance colors and reduce glare to ND filters that control exposure in bright conditions, filters offer a range of creative possibilities for adding visual interest to your images. Experimenting with different filters can elevate your travel photos and bring a unique aesthetic to your photography.
Additionally, exposure bracketing can be a valuable technique for capturing a range of exposures in challenging lighting situations. By bracketing your exposures, you can ensure that you have perfectly exposed shots in any scenario, giving you the flexibility to choose the best image during post-processing.

Understanding Aperture
This article explores crucial camera settings for capturing stunning travel photos. From aperture and shutter speed to ISO and white balance, mastering these settings can greatly enhance your travel photography skills.
When it comes to capturing breathtaking travel photos, understanding aperture is key. Aperture refers to the opening in the lens through which light enters the camera. By adjusting the aperture setting, you can control the depth of field in your images. A wider aperture (lower f-stop number) creates a shallow depth of field, perfect for isolating your subject against a beautifully blurred background, while a smaller aperture (higher f-stop number) increases the depth of field, keeping more of the scene in focus.
Imagine aperture as the pupil of your camera's eye - the wider it opens, the more light comes in, allowing you to play with focus and blur creatively. Mastering aperture settings can add a professional touch to your travel photos, making them visually striking and engaging.
Mastering Shutter Speed
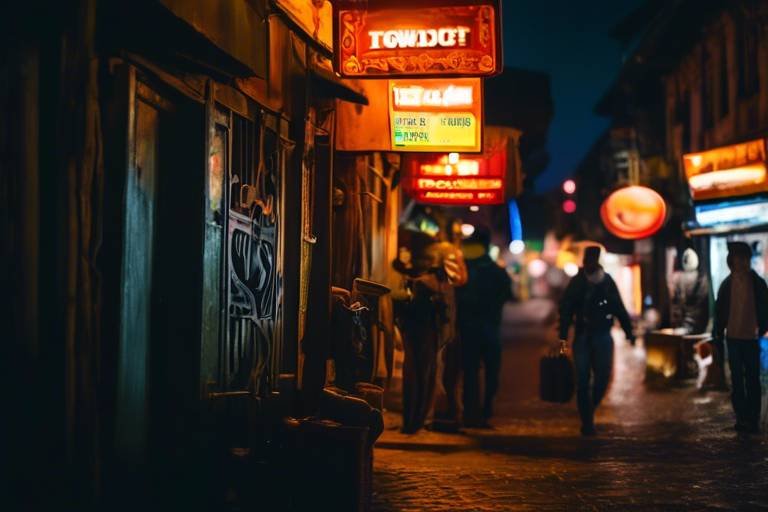
When it comes to travel photography, mastering shutter speed is essential for capturing stunning images that truly reflect the essence of your surroundings. Shutter speed dictates how long the camera's shutter remains open, determining whether moving subjects are frozen in action or blurred to convey a sense of motion.
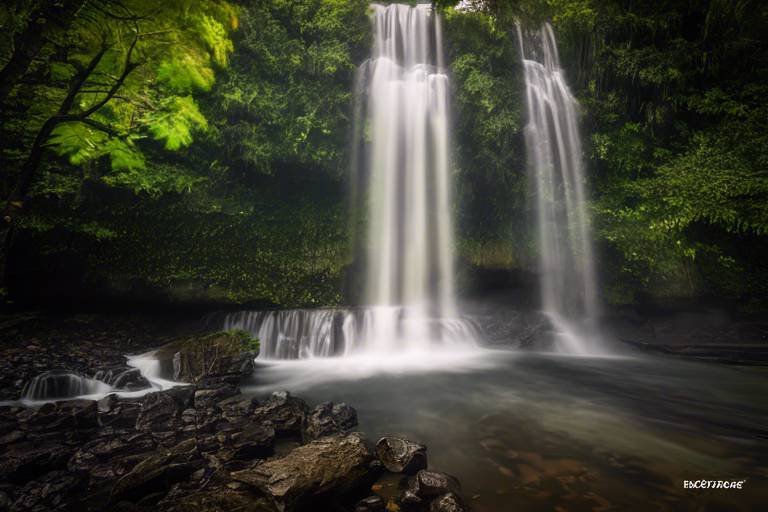
Imagine standing in a bustling market, wanting to freeze the vibrant energy of the scene or a serene waterfall where you aim to capture the silky flow of water. Adjusting your shutter speed accordingly can make all the difference in the final outcome of your travel photos.
Understanding the relationship between shutter speed and light is crucial. A faster shutter speed allows less light to enter the camera, ideal for freezing fast-moving subjects or capturing sharp details in well-lit environments. On the other hand, a slower shutter speed lets in more light, perfect for creating dreamy effects in low-light situations or conveying a sense of movement in your shots.
Experimenting with different shutter speeds will help you find the perfect balance between freezing action and capturing motion blur in your travel photos. Whether you're photographing bustling city streets, majestic landscapes, or candid moments, mastering shutter speed opens up a world of creative possibilities to elevate your travel photography to new heights.
Optimizing ISO
When it comes to travel photography, optimizing ISO is a crucial aspect that can significantly impact the quality of your images. ISO refers to the sensitivity of your camera's sensor to light, and understanding how to adjust this setting can help you achieve well-exposed photos in various lighting conditions.
Setting the ISO too high can result in grainy or noisy images, while setting it too low may lead to underexposed photos, especially in low-light situations. Finding the right balance is key to capturing sharp and clear travel photos without compromising image quality.
One approach to optimizing ISO is to start with the lowest setting possible, such as ISO 100 or 200, when shooting in bright lighting conditions. This can help maintain image clarity and reduce noise. As the light decreases, gradually increase the ISO to ensure proper exposure while keeping noise to a minimum.
Additionally, modern cameras offer a range of ISO settings, allowing you to adjust this parameter based on the specific lighting conditions you encounter during your travels. Experimenting with different ISO values and understanding how they affect the brightness and quality of your images can help you master this essential camera setting.

Setting White Balance
When it comes to setting white balance in your travel photography, it's essential to understand how this parameter impacts the color temperature of your images. White balance ensures that the colors in your photos appear natural and true to life, regardless of the lighting conditions you're shooting in. Different light sources, such as natural daylight, fluorescent bulbs, or incandescent lighting, can cast varying color temperatures on your photos. By adjusting the white balance setting on your camera, you can counteract these color casts and achieve accurate colors in your travel shots.
Most modern cameras offer a range of white balance presets, such as daylight, cloudy, shade, tungsten, fluorescent, and flash, to match different lighting situations. These presets are designed to simplify the process of setting the white balance based on the lighting conditions you're shooting in. Additionally, many cameras allow you to manually set the white balance by using a custom white balance option. This feature enables you to calibrate the white balance according to a neutral reference point in the scene, ensuring color accuracy in your photos.
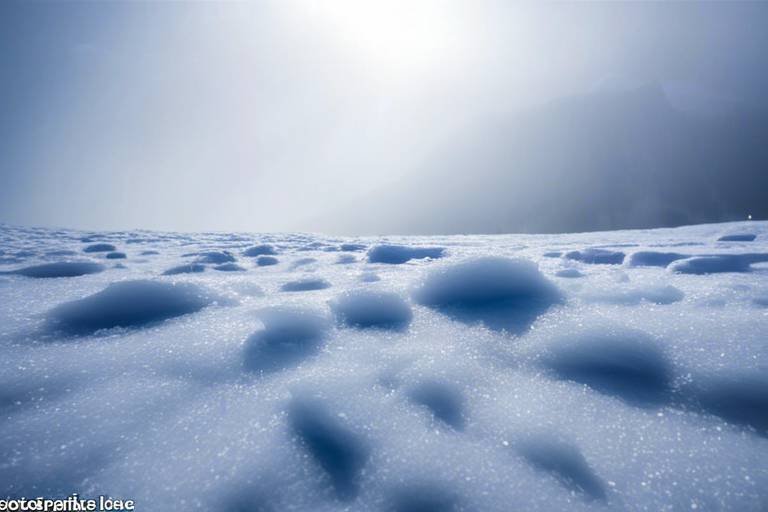
Understanding how to set the white balance correctly can significantly enhance the overall quality of your travel images. It can make a substantial difference in capturing the true colors of a sunset, the vibrant hues of a bustling market, or the serene tones of a snowy landscape. By mastering white balance settings, you can elevate the visual impact of your travel photos and convey the authentic atmosphere of the places you visit.
Focusing Techniques
When it comes to capturing sharp and well-defined travel images, mastering focusing techniques is essential. The right focusing mode can make a significant difference in the overall quality of your photos. Understanding the various focusing options your camera offers, such as single-point, continuous, and manual focus, allows you to adapt to different shooting scenarios with precision and accuracy.

Utilizing Exposure Compensation
When it comes to capturing the perfect travel photos, exposure compensation plays a vital role in ensuring your images are well-balanced and properly exposed. This feature allows you to adjust the brightness of your photos by making them lighter or darker, depending on the lighting conditions and desired effect.
Imagine you're in a picturesque location during sunset, and the light is fading fast. By using exposure compensation, you can easily brighten up the scene to capture the vibrant colors of the sky without losing details in the shadows. On the other hand, in bright daylight, you can dial down the exposure to prevent overexposure and maintain the richness of the colors in your landscape shots.
One of the key benefits of exposure compensation is its ability to fine-tune your images without having to rely solely on automatic settings. This gives you more creative control over the final look of your photos, allowing you to express your unique vision and style through your travel photography.
Additionally, exposure compensation can be particularly useful when dealing with high-contrast scenes where the camera's metering system may struggle to find the right balance between highlights and shadows. By manually adjusting the exposure, you can ensure that both the bright and dark areas of your composition are properly exposed, resulting in a more visually appealing image.
Whether you're shooting landscapes, portraits, or street scenes, mastering exposure compensation can take your travel photography to the next level by allowing you to capture the essence of the moment with precision and artistry.

Utilizing Filters for Creative Effects
When it comes to adding creative flair to your travel photography, utilizing filters can make a significant impact on the final result. Filters are versatile tools that can enhance colors, reduce glare, and create unique visual effects, elevating the overall appeal of your images.
One popular filter for travel photography is the polarizing filter, which helps to reduce reflections and glare from surfaces such as water or glass. By using a polarizer, you can deepen the blue of the sky, enhance contrast, and make colors appear more saturated, resulting in vibrant and eye-catching photos.
Another essential filter for creative effects is the Neutral Density (ND) filter, which reduces the amount of light entering the lens without affecting the color balance. This allows you to achieve longer exposure times, ideal for capturing motion blur in waterfalls or creating dramatic effects in bright daylight.
Experimenting with different filters, such as graduated ND filters for balancing exposure in landscapes or color filters for artistic effects, can add a unique touch to your travel photos. By understanding how each filter works and when to use them, you can unleash your creativity and produce visually stunning images that stand out.

Utilizing Bracketing Techniques
When it comes to capturing the perfect shot in travel photography, utilizing bracketing techniques can be a game-changer. Exposure bracketing allows you to take multiple shots at different exposure levels, ensuring that you have the right exposure in challenging lighting conditions. By bracketing your shots, you can cover a range of exposures, from underexposed to overexposed, to guarantee that you capture all the details in high-contrast scenes.
One common method of bracketing is auto exposure bracketing (AEB), where the camera automatically takes a series of shots at varying exposures. This feature is particularly useful in situations where the lighting is tricky to balance, such as sunsets or interiors with bright windows. By using AEB, you can later choose the best-exposed image or merge the bracketed shots in post-processing for a perfectly balanced final photo.
Manual exposure bracketing is another technique that gives you full control over the exposure settings. By adjusting the exposure compensation manually between shots, you can fine-tune the exposure levels according to your preference. This method is ideal for photographers who want precise control over the bracketing process and are comfortable adjusting settings on the fly.
Bracketing techniques are not limited to just exposure; you can also bracket for white balance, focus, and depth of field. White balance bracketing, for example, allows you to capture the same scene with different color temperature settings to ensure accurate color representation. Similarly, focus bracketing involves taking multiple shots at different focus distances and later combining them for a greater depth of field.
Overall, mastering bracketing techniques in travel photography can elevate your images to a new level of precision and quality. Whether you're shooting landscapes with varying light conditions or capturing fast-moving subjects, bracketing provides you with the flexibility to nail the exposure every time.
Frequently Asked Questions
- What is the importance of mastering camera settings for travel photography?
Mastering camera settings is crucial for capturing stunning travel photos. Understanding settings like aperture, shutter speed, ISO, and white balance allows you to control the exposure, focus, and overall look of your images, resulting in professional-quality travel photographs.
- How does aperture affect travel photography?
Aperture controls the depth of field in your photos, influencing how sharp your subject is against a blurred background. By adjusting the aperture, you can create artistic effects and draw attention to specific elements in your travel images.
- Why is shutter speed important in travel photography?
Shutter speed determines how motion is captured in your photos, whether freezing fast action or creating a sense of movement. By mastering shutter speed, you can convey the energy of bustling city streets or the serenity of a tranquil landscape in your travel shots.
- How does ISO impact travel photography?
ISO affects the camera's sensitivity to light, allowing you to shoot in various lighting conditions without sacrificing image quality. By optimizing ISO settings, you can produce well-exposed travel photos even in low light situations.
- What role does white balance play in travel photography?
White balance ensures accurate color representation in your travel photos by adjusting for different light temperatures. By setting the white balance correctly, you can capture the true hues of a sunset, the vibrant colors of a market, or the cool tones of a snowy landscape.